
Welcome to VolumeShop
This documentation mainly introduces the function and usage of VolumeShop.
Tip: The online version of this documentation is exactly what "View help" inside the application opens.
Settings
VolumeShop provides a multilingual (English and Chinese) and multi-theme (dark and light) user interface, you can dynamically switch at any time in the 'Settings' subpanel.
Language settings
Which language appears when you open VolumeShop for the first time depends on the system locale. For the time being, only two languages (English and Chinese) are available, other language is set as English for default. The language can be changed using the following steps.
Click the 'Settings' tab on the toolbar.
In the 'Setting' subpanel, click
 button to dynamically change VolumeShop's language or select a language from the drop down menus of the button.
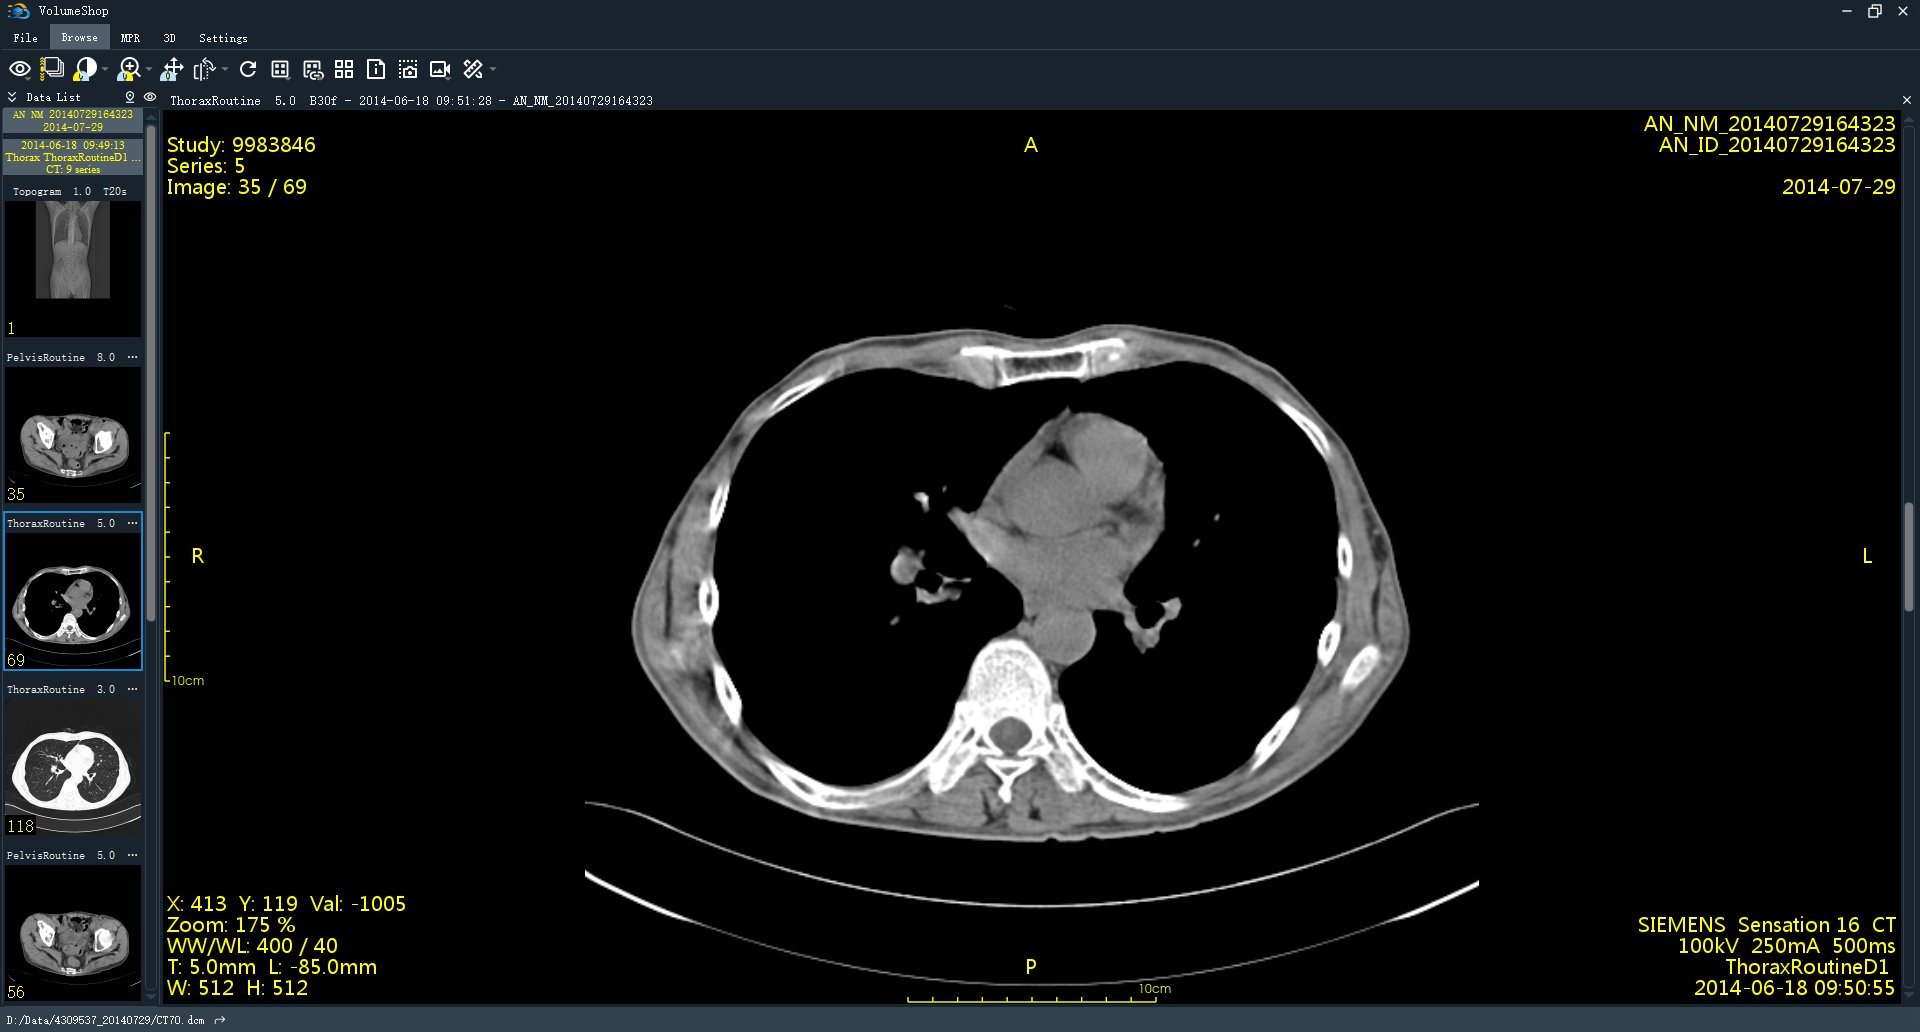
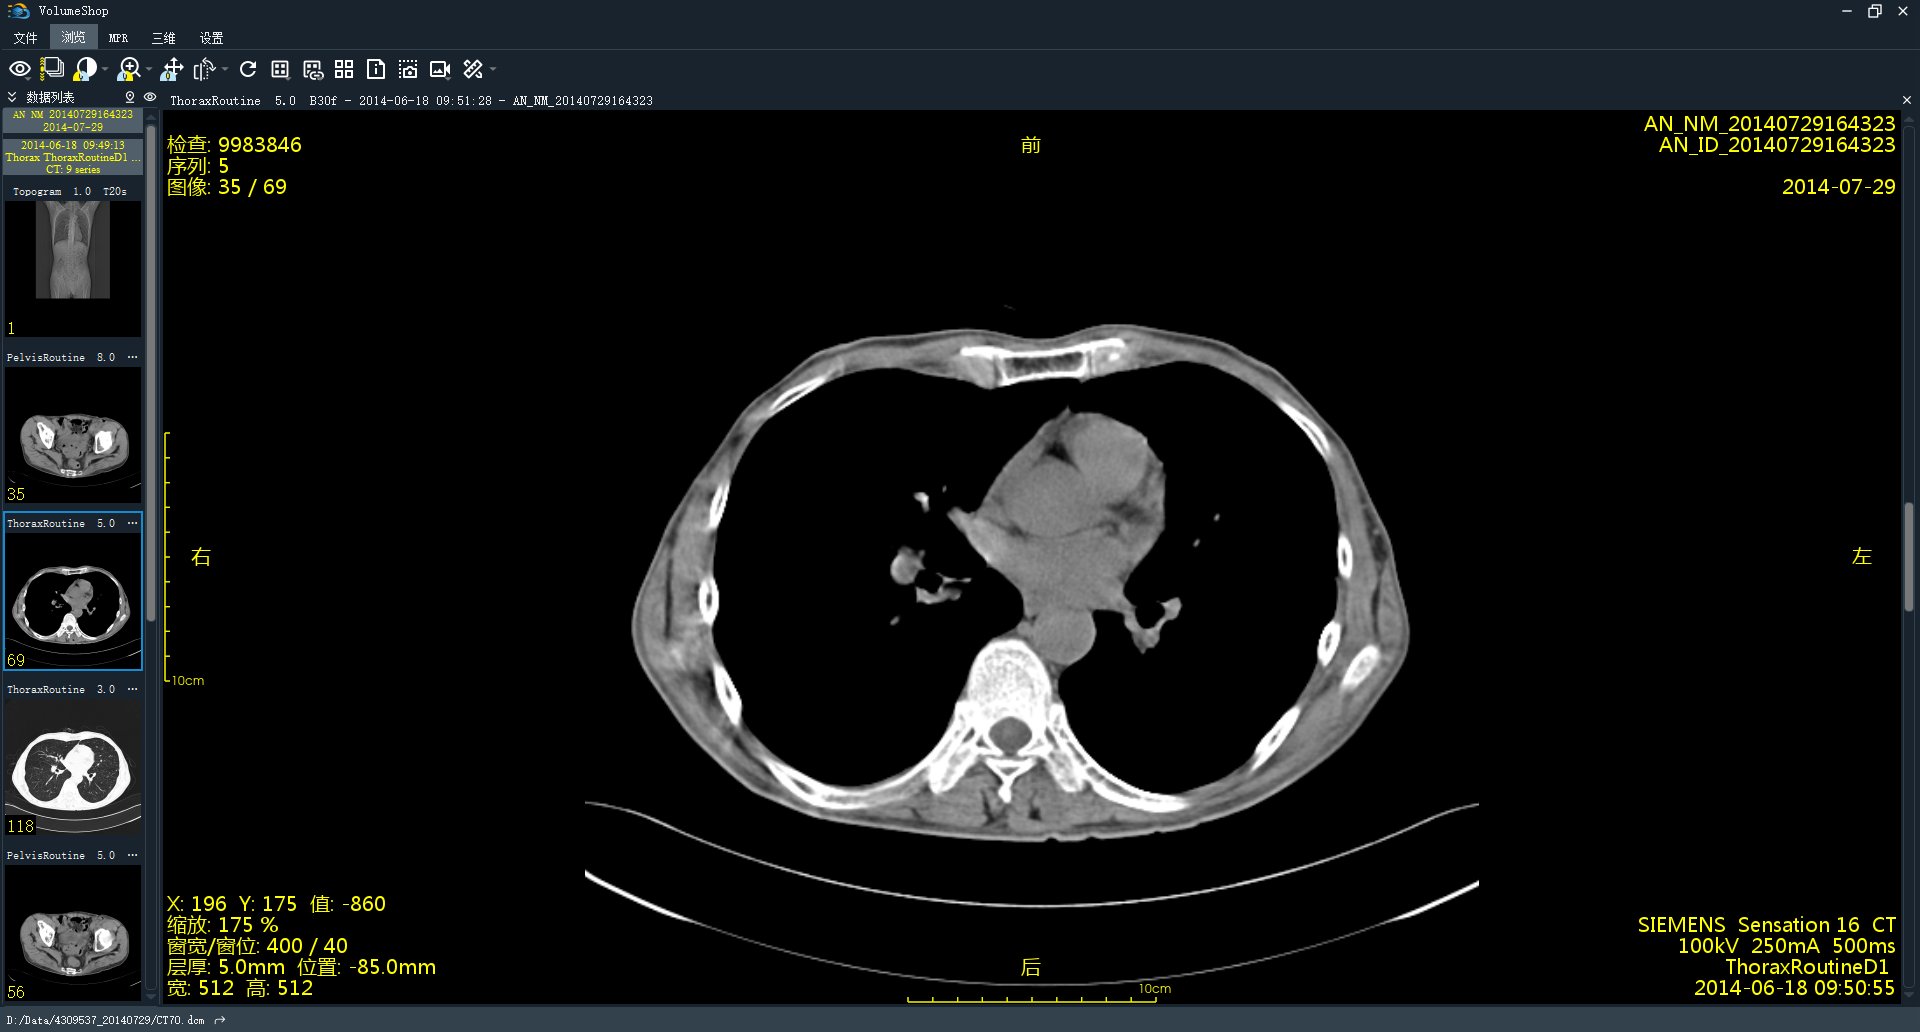
Theme settings
The default color theme for VolumeShop's user interface is 'Dark'. Here's how to change it to a different color theme.
On the menu tab, select 'Settings'.
In the 'Settings' subpanel, click
 button to dynamically switch between different themes or select a theme from the button's drop down menus.
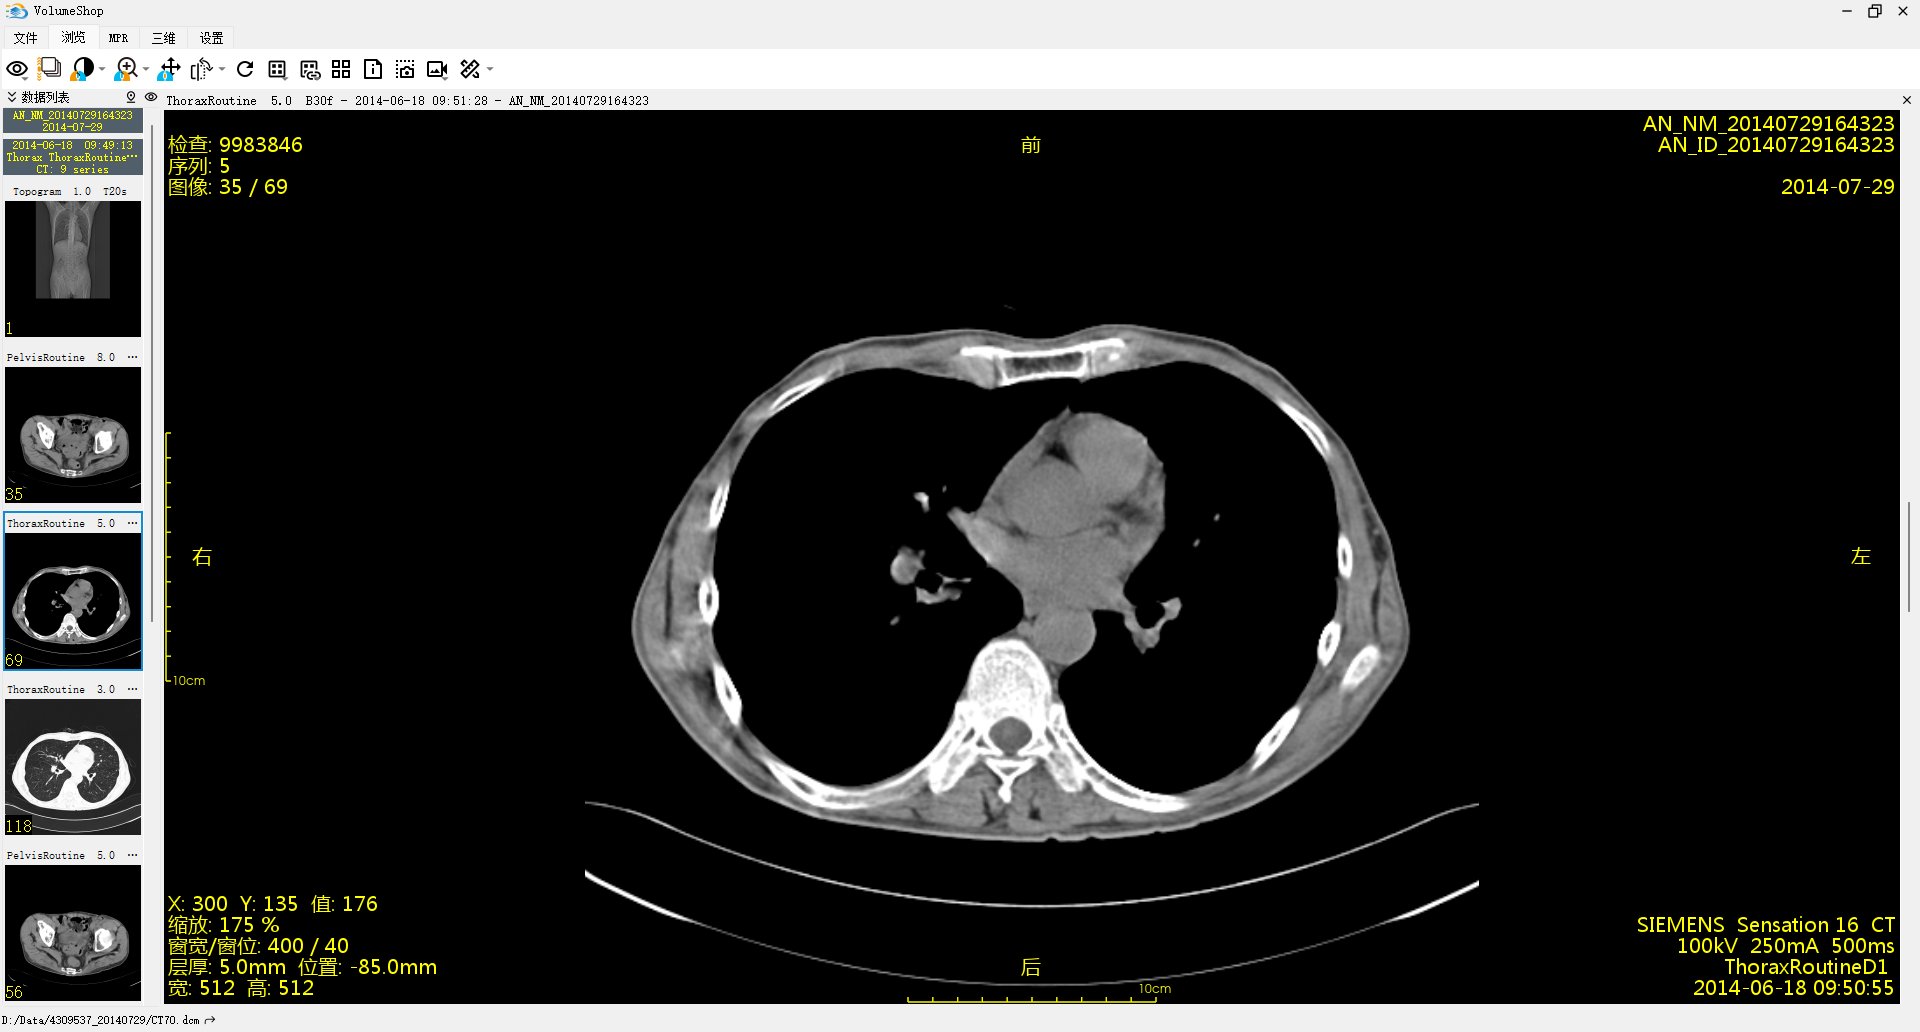
The theme and language you choose are saved and restored the next time VolumeShop starts.
Update VolumeShop
Select "Check for updates" in the drop-down menu of the "Help" button, and VolumeShop will contact the update server to obtain version information.
The update dialog shows your current version and the latest version, together with the release date, install date and download size, and what's new in the new version. If a newer version is found, click "Update" to start downloading; the download can be interrupted at any time by clicking "Stop". Once the download has finished, click "Install" — VolumeShop will close first and the update program then completes the installation.
- If you are already running the newest version, VolumeShop reports "Already newest version".
- If the update server cannot be reached (for example when the network is unavailable), VolumeShop says so and your current installation keeps working.
- When an update is available, the status bar also announces that a new version has been released.
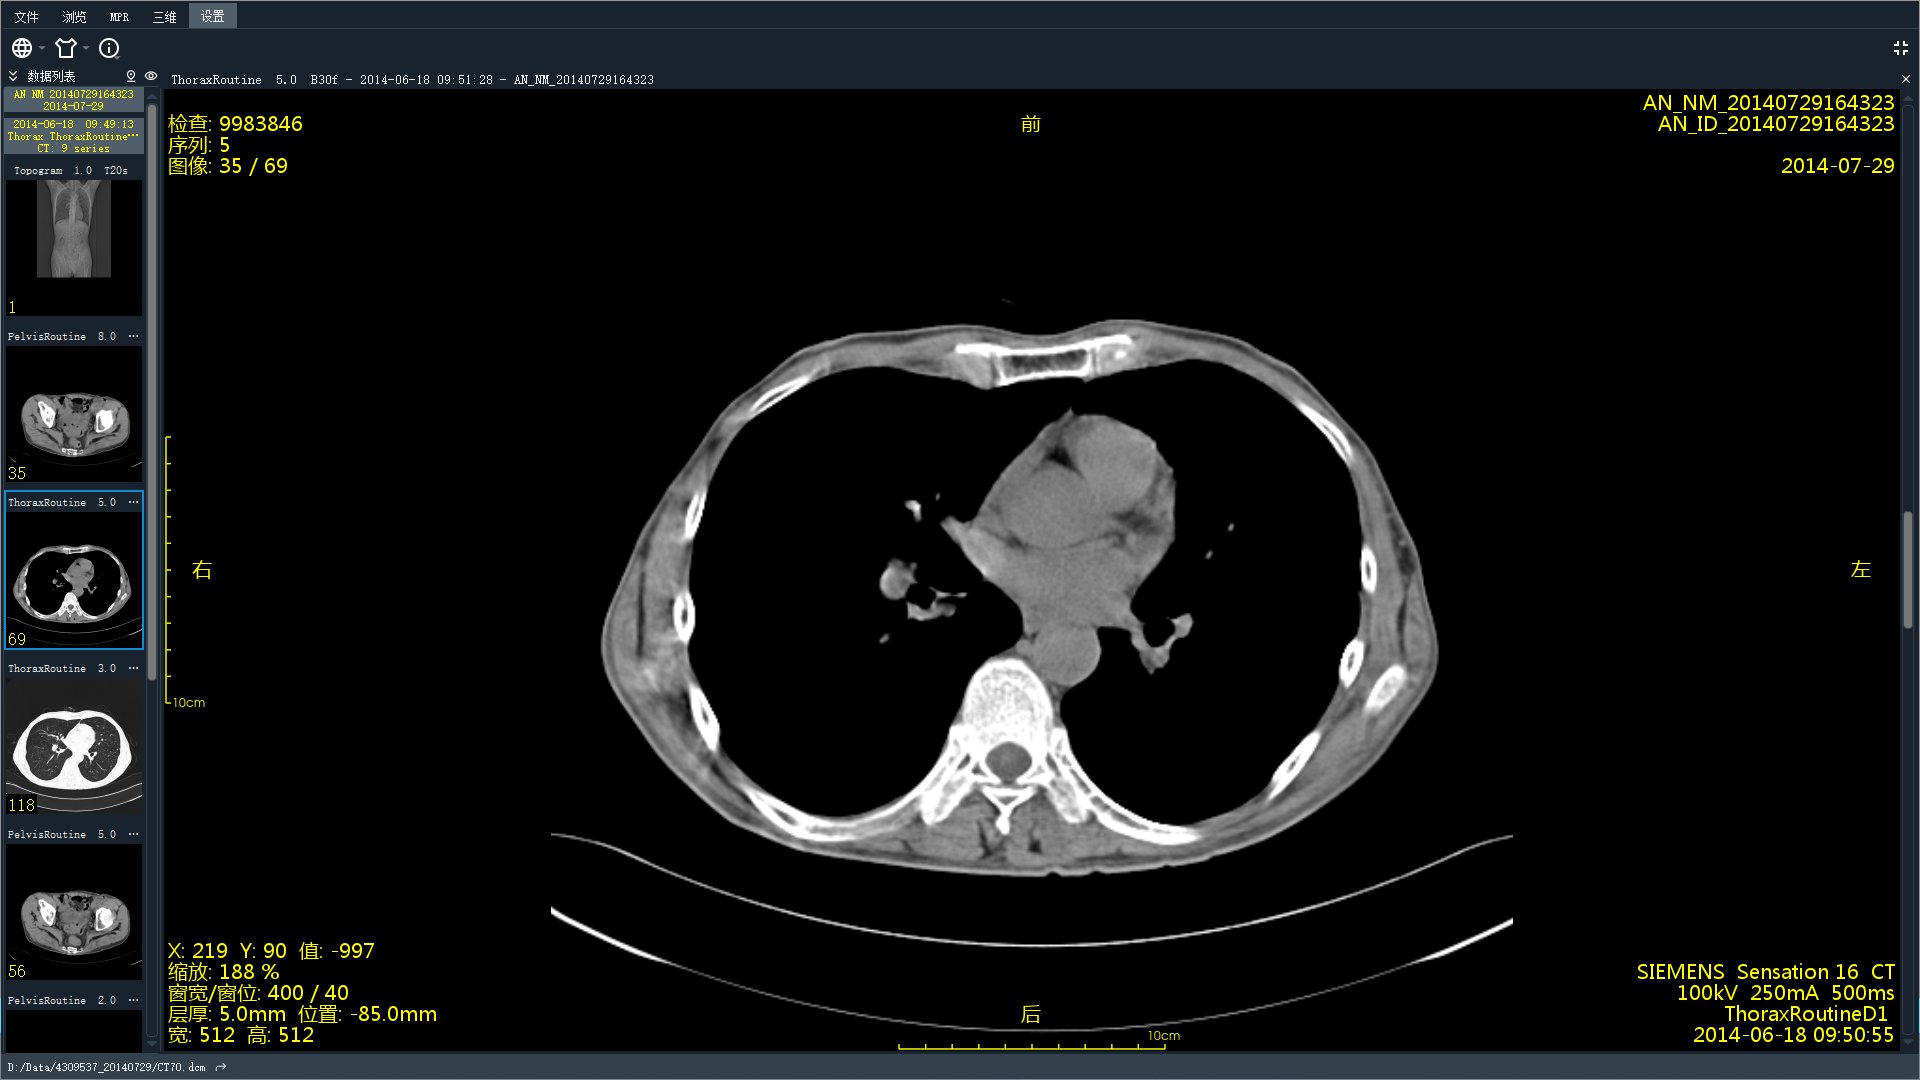
Full screen mode
VolumeShop can enter full screen mode by clicking  button on the 'Settings' subsubpanel, and exit by clicking
  button replaced at the same position.
View help and about
The drop-down menu of the "Help" button contains the following items:
- View help: opens this documentation in your browser.
- Check for updates: looks for a newer version.
- About VolumeShop: shows the version, copyright, terms of service, and the open source projects used, with their licenses.
- About HuiBaiTu: shows information about the developer.
Preview DICOM files
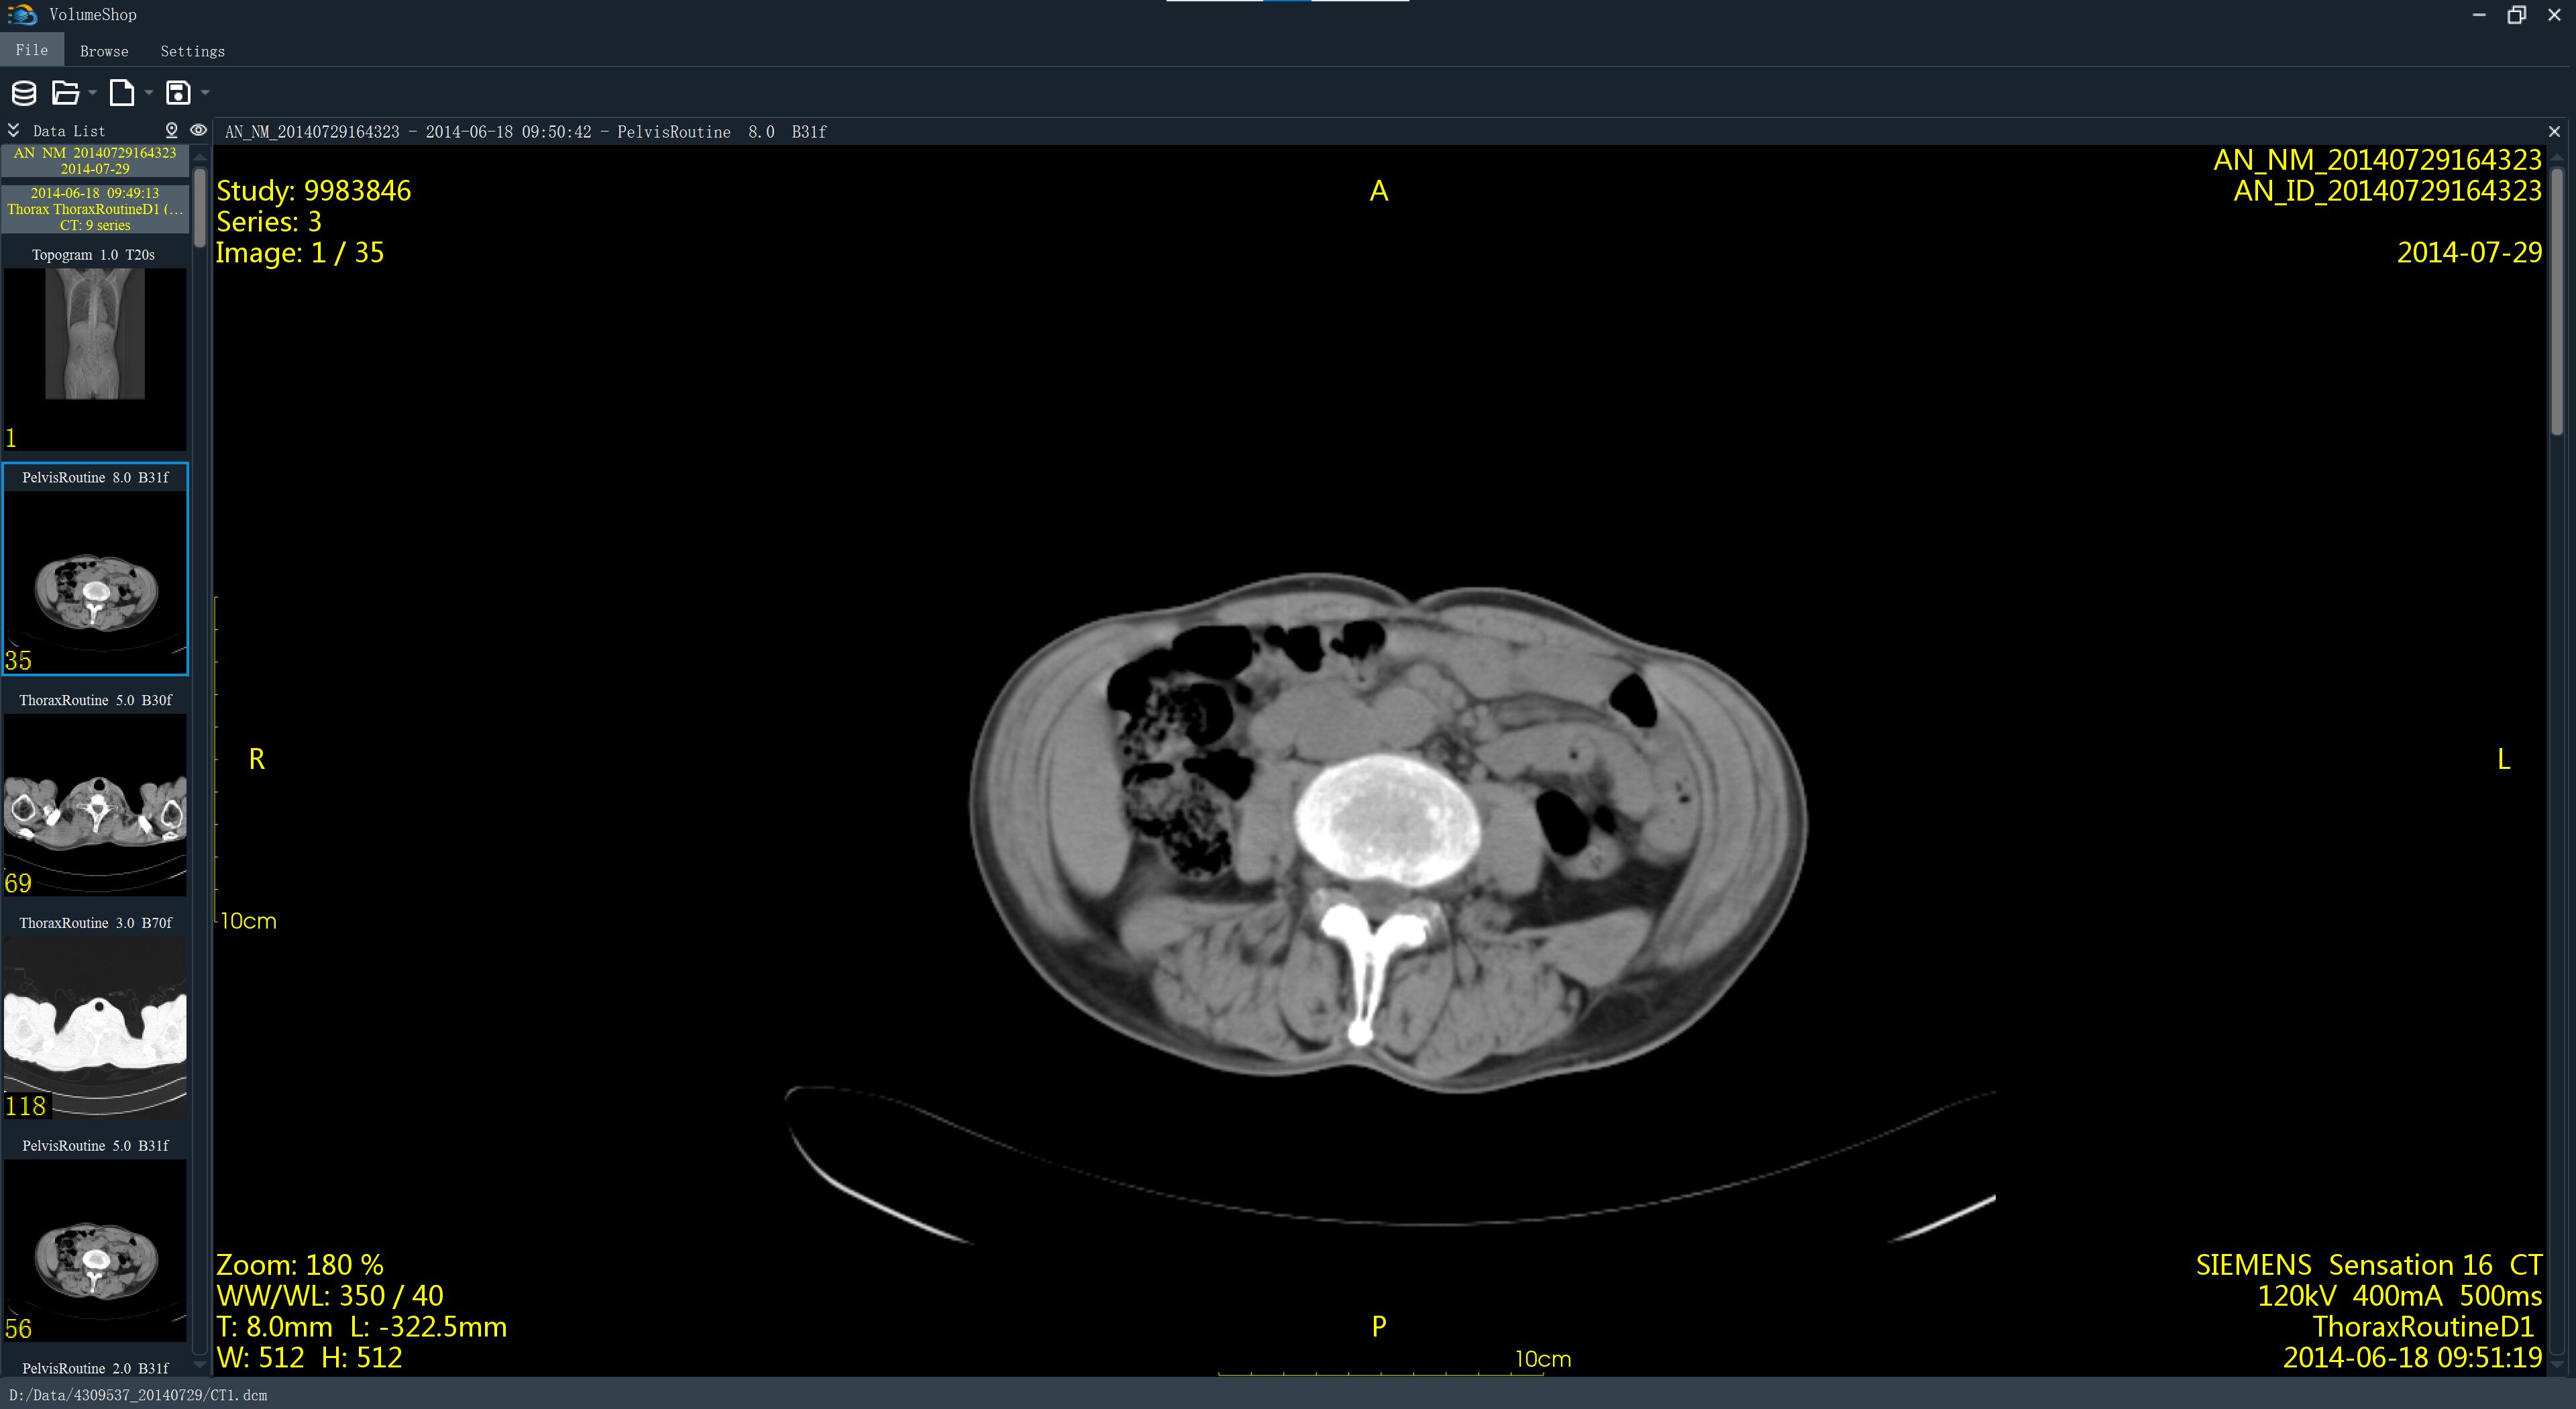
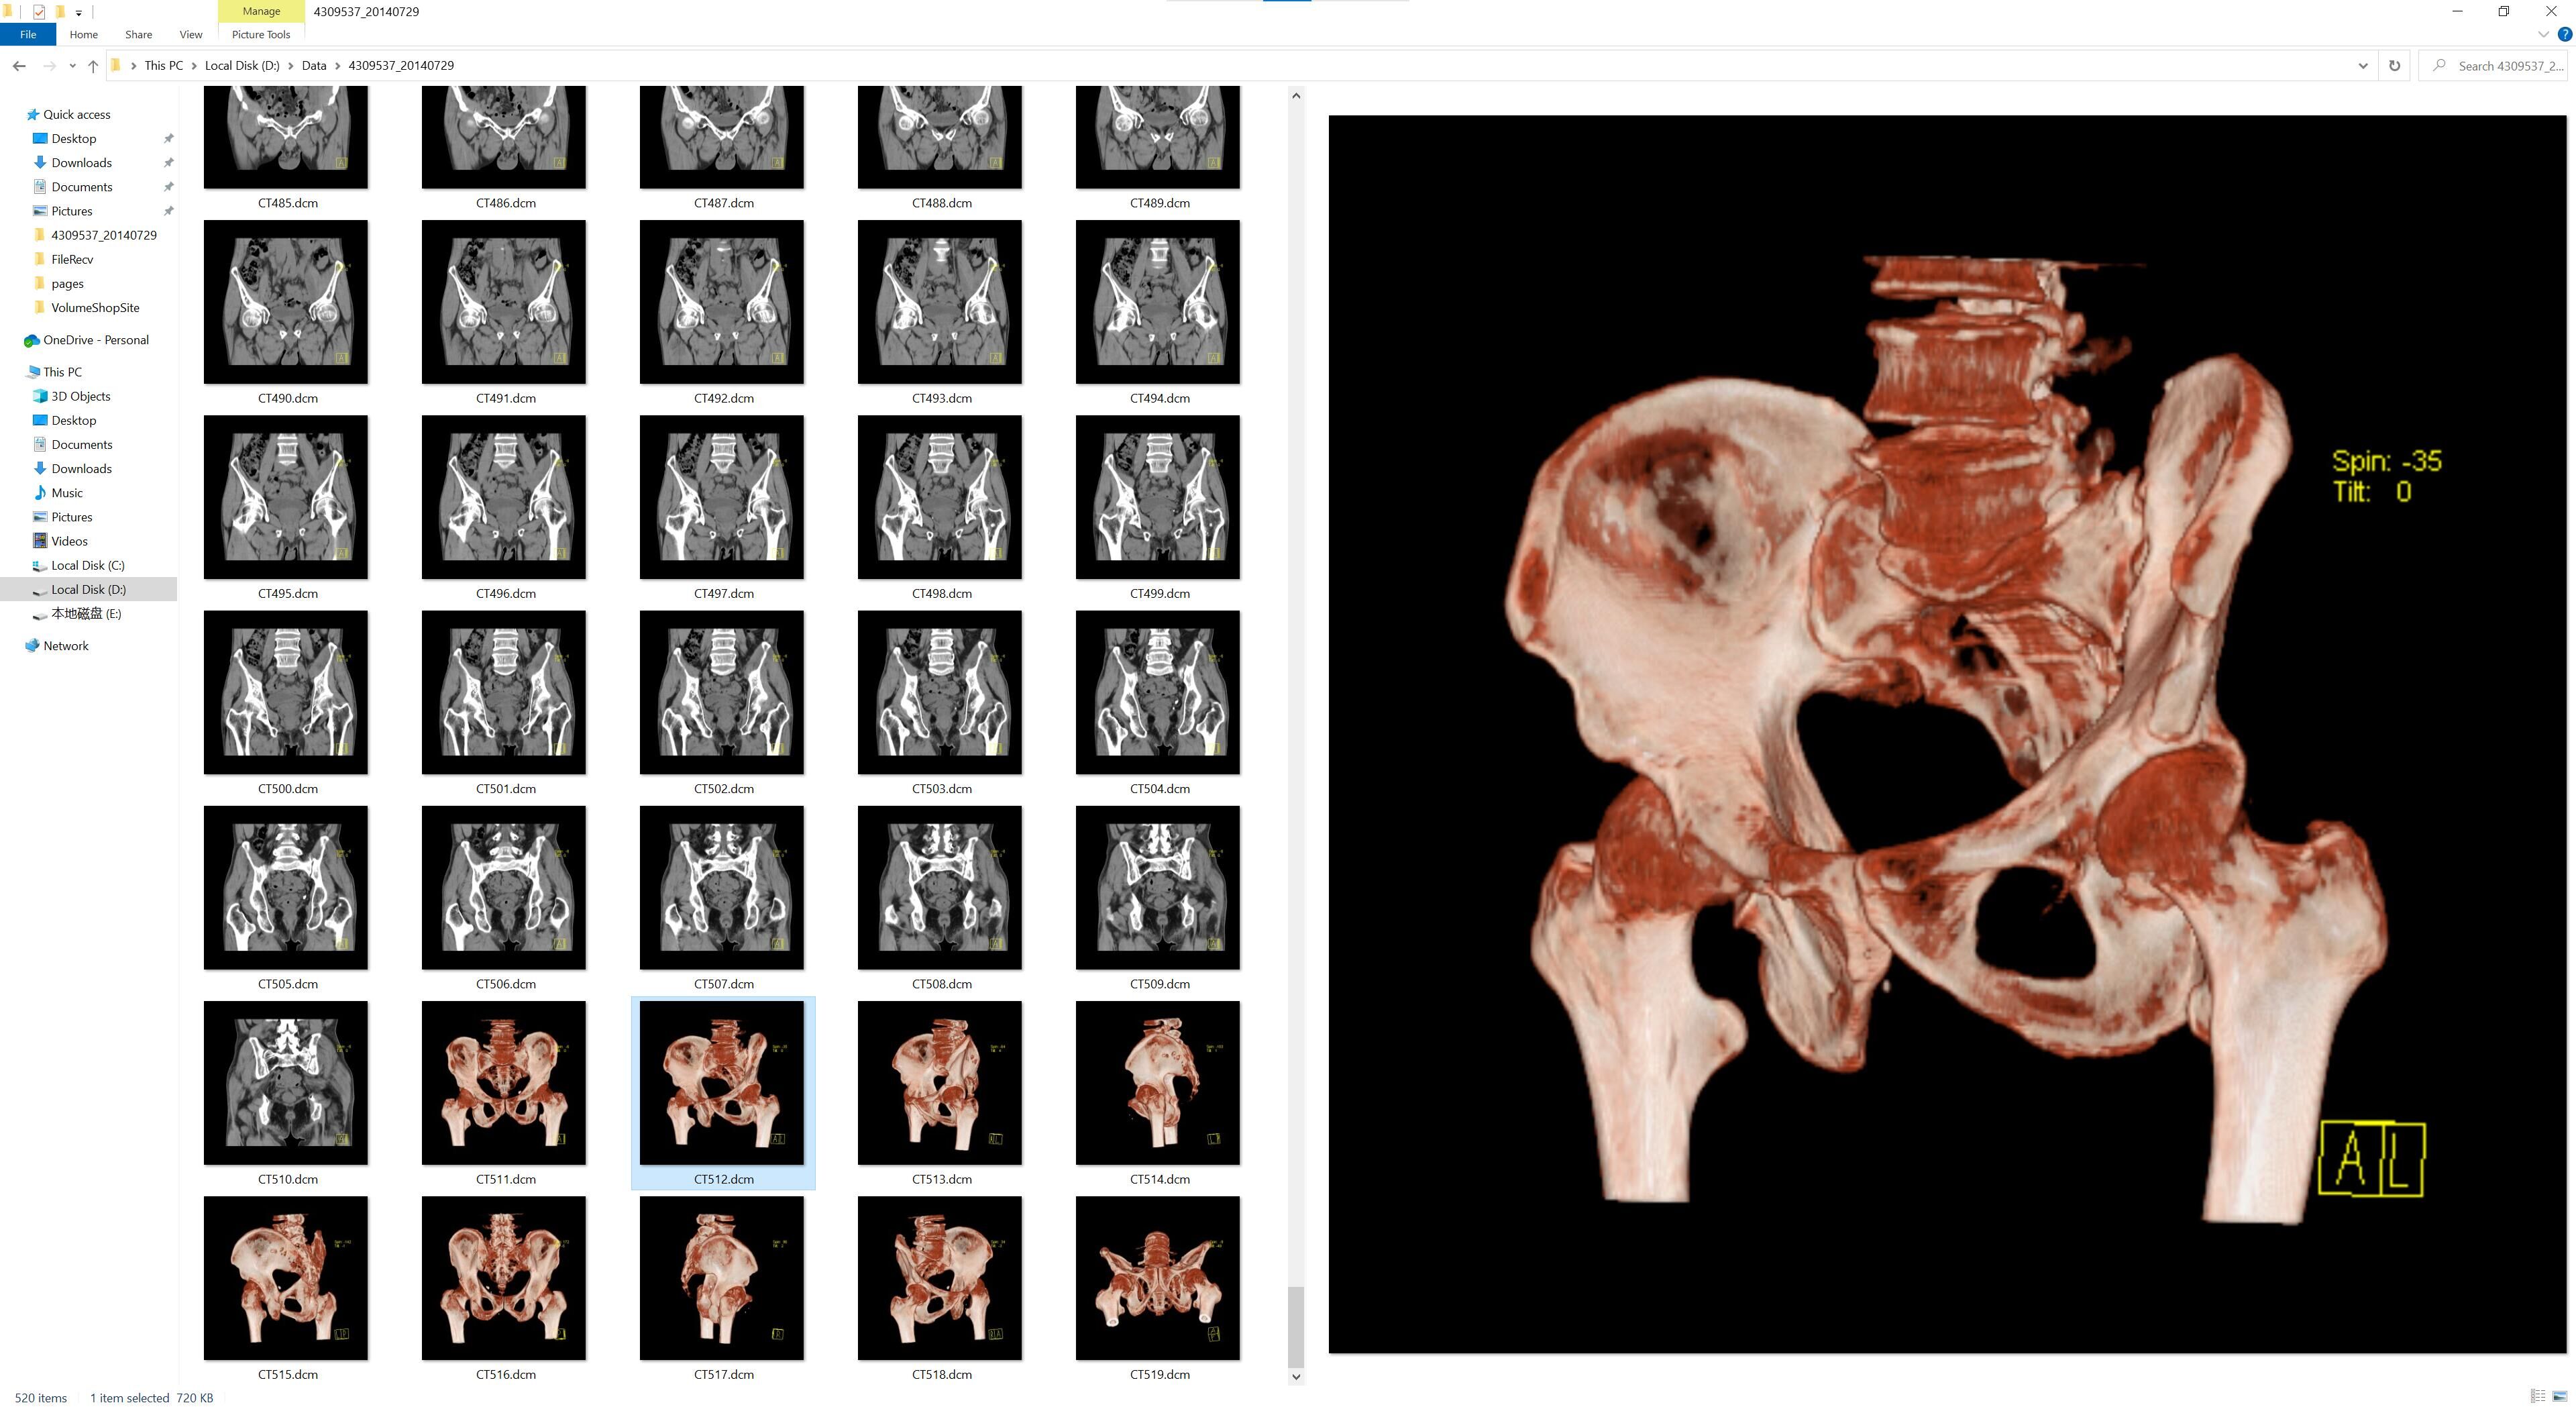
VolumeShop provides a "DICOM file preview" feature that lets you view DICOM file (suffix '.dcm') as normal image in Windows Explorer. As shown below, thumbnails of DICOM files are easily presented after VolumeShop is installed. If not, please set VolumeShop as default app for '.dcm' files.
Import DICOM files
There are a wide range of importing DICOM files to VolumeShop, you can choose the most convenient way depending on circumstances.
Import files using drag & drop
Simply drag and drop selected files and / or directories into VolumeShop, where these ones are parsed and displayed by way of sorted series.
Import files using right-click menu
Right-click on selected files and / or directories and choose "Open with VolumeShop" from popup menu, VolumeShop will start and display those files.
Import file by double-click on it
You can double click to open DICOM file in VolumeShop.
Open directory
Display all DICOM files in a directory.
Click "Open directory" button or select "Open DICOM directory" from drop-down menu on the right side of the button.
From the pop-up dialog, select the directory that contains DICOM files and click "Choose" button.
VolumeShop will display DICOM files with the sort by patient, study and series.
Add directory
Append the DICOM files in a directory to the existing list of series.
Select "Add DICOM directory" in drop-down menu that comes up by clicking the arrow button right next to "Open directory" button.
Select the directory you want to add and click "Choose" button in the pop-up dialog.
The DICOM files in added directory will merge with exsiting files, make sure that neither of patients, studies, series and images is redundant.
Recent directories
In "Recent directories" of drop-down menu, the five most recent directories are listed that make it easier to find directories you have viewed with VolumeShop.
Open files
Display the selected files.
Click "Open file" button or select "Open file" from drop-down menu on the right side of the button.
From the pop-up dialog, select one or more DICOM files and click "Open" button.
VolumeShop will display DICOM files with the sort by patient, study and series.
Add files
Append the chosen files to the existing list of series.
Select "Add file" in drop-down menu that comes up by clicking the arrow button right next to "Open file" button.
Select the files you want to add and click "Open" button in the pop-up dialog.
The added DICOM files will merge with exsiting files, make sure that neither of patients, studies, series and images is redundant.
Recent files
In "Recent files" of drop-down menu, the five most recent files are listed that make it easier to find DICOM files you have viewed with VolumeShop.
Export DICOM files
With VolumeShop, it's easy to export a DICOM file to a normal image in BMP, JPG or PNG formats. Start VolumeShop, and open the DICOM files you want to export. You could export current DICOM file or series by "Save as image" or "Save as image series", separately.
Save as image
Save the current image as image in a specified format.
Select "Save as image" in drop-down menu that comes up by clicking the arrow button right next to "Save file" button.
From the pop-up dialog, choose a file format, such as BMP, JPG or PNG.
Select a folder and input a filename for the exported file.
Click "Save" button.
Tip: Check "Open the saved directory" in the Export dialog if you want to work with the exported file immediately.
Save as image series
Save the current series as image series.
Click "Save as image series" in drop-down menu.
From the pop-up dialog, choose a file format, such as BMP, JPG or PNG.
Select a folder for the exported images and click "Choose" button.
Tip: Check "Rename in numerical order" in the Export dialog if you want to name the exported images in numerical order.
Manage DICOM files
Data list
"Data list" in the drop-down menu of the "Component visibility" button shows or hides the data list on the left. The list arranges the loaded data by patient, study and series; click a series to display it in the preview region.
Controlling the elements drawn on images
The drop-down menu of the "Component visibility" button also controls the elements drawn on top of the images, in both the preview and the browsing region:
- Privacy: controls the display of the patient name and other private information, which is useful when taking screenshots or showing cases to an audience.
- Image annotation: controls the text drawn in the corners of the image (study / series / image index, patient information, window width and level, slice thickness and location, device information).
- Scale: controls the scale bar drawn on the image.
- Overlay: controls the display of DICOM overlays.
- Cross reference line: controls the reference line that marks the current slice position in the other views of a multi-window layout.

Closing opened items
Click the "Close opened items" button and select "Close all" from its drop-down menu to clear everything that is currently open. A single study or series can also be closed from the data list.
Database
Click the "Database" button to open the database dialog, which indexes the DICOM data stored on this computer so that it can be searched and reused.
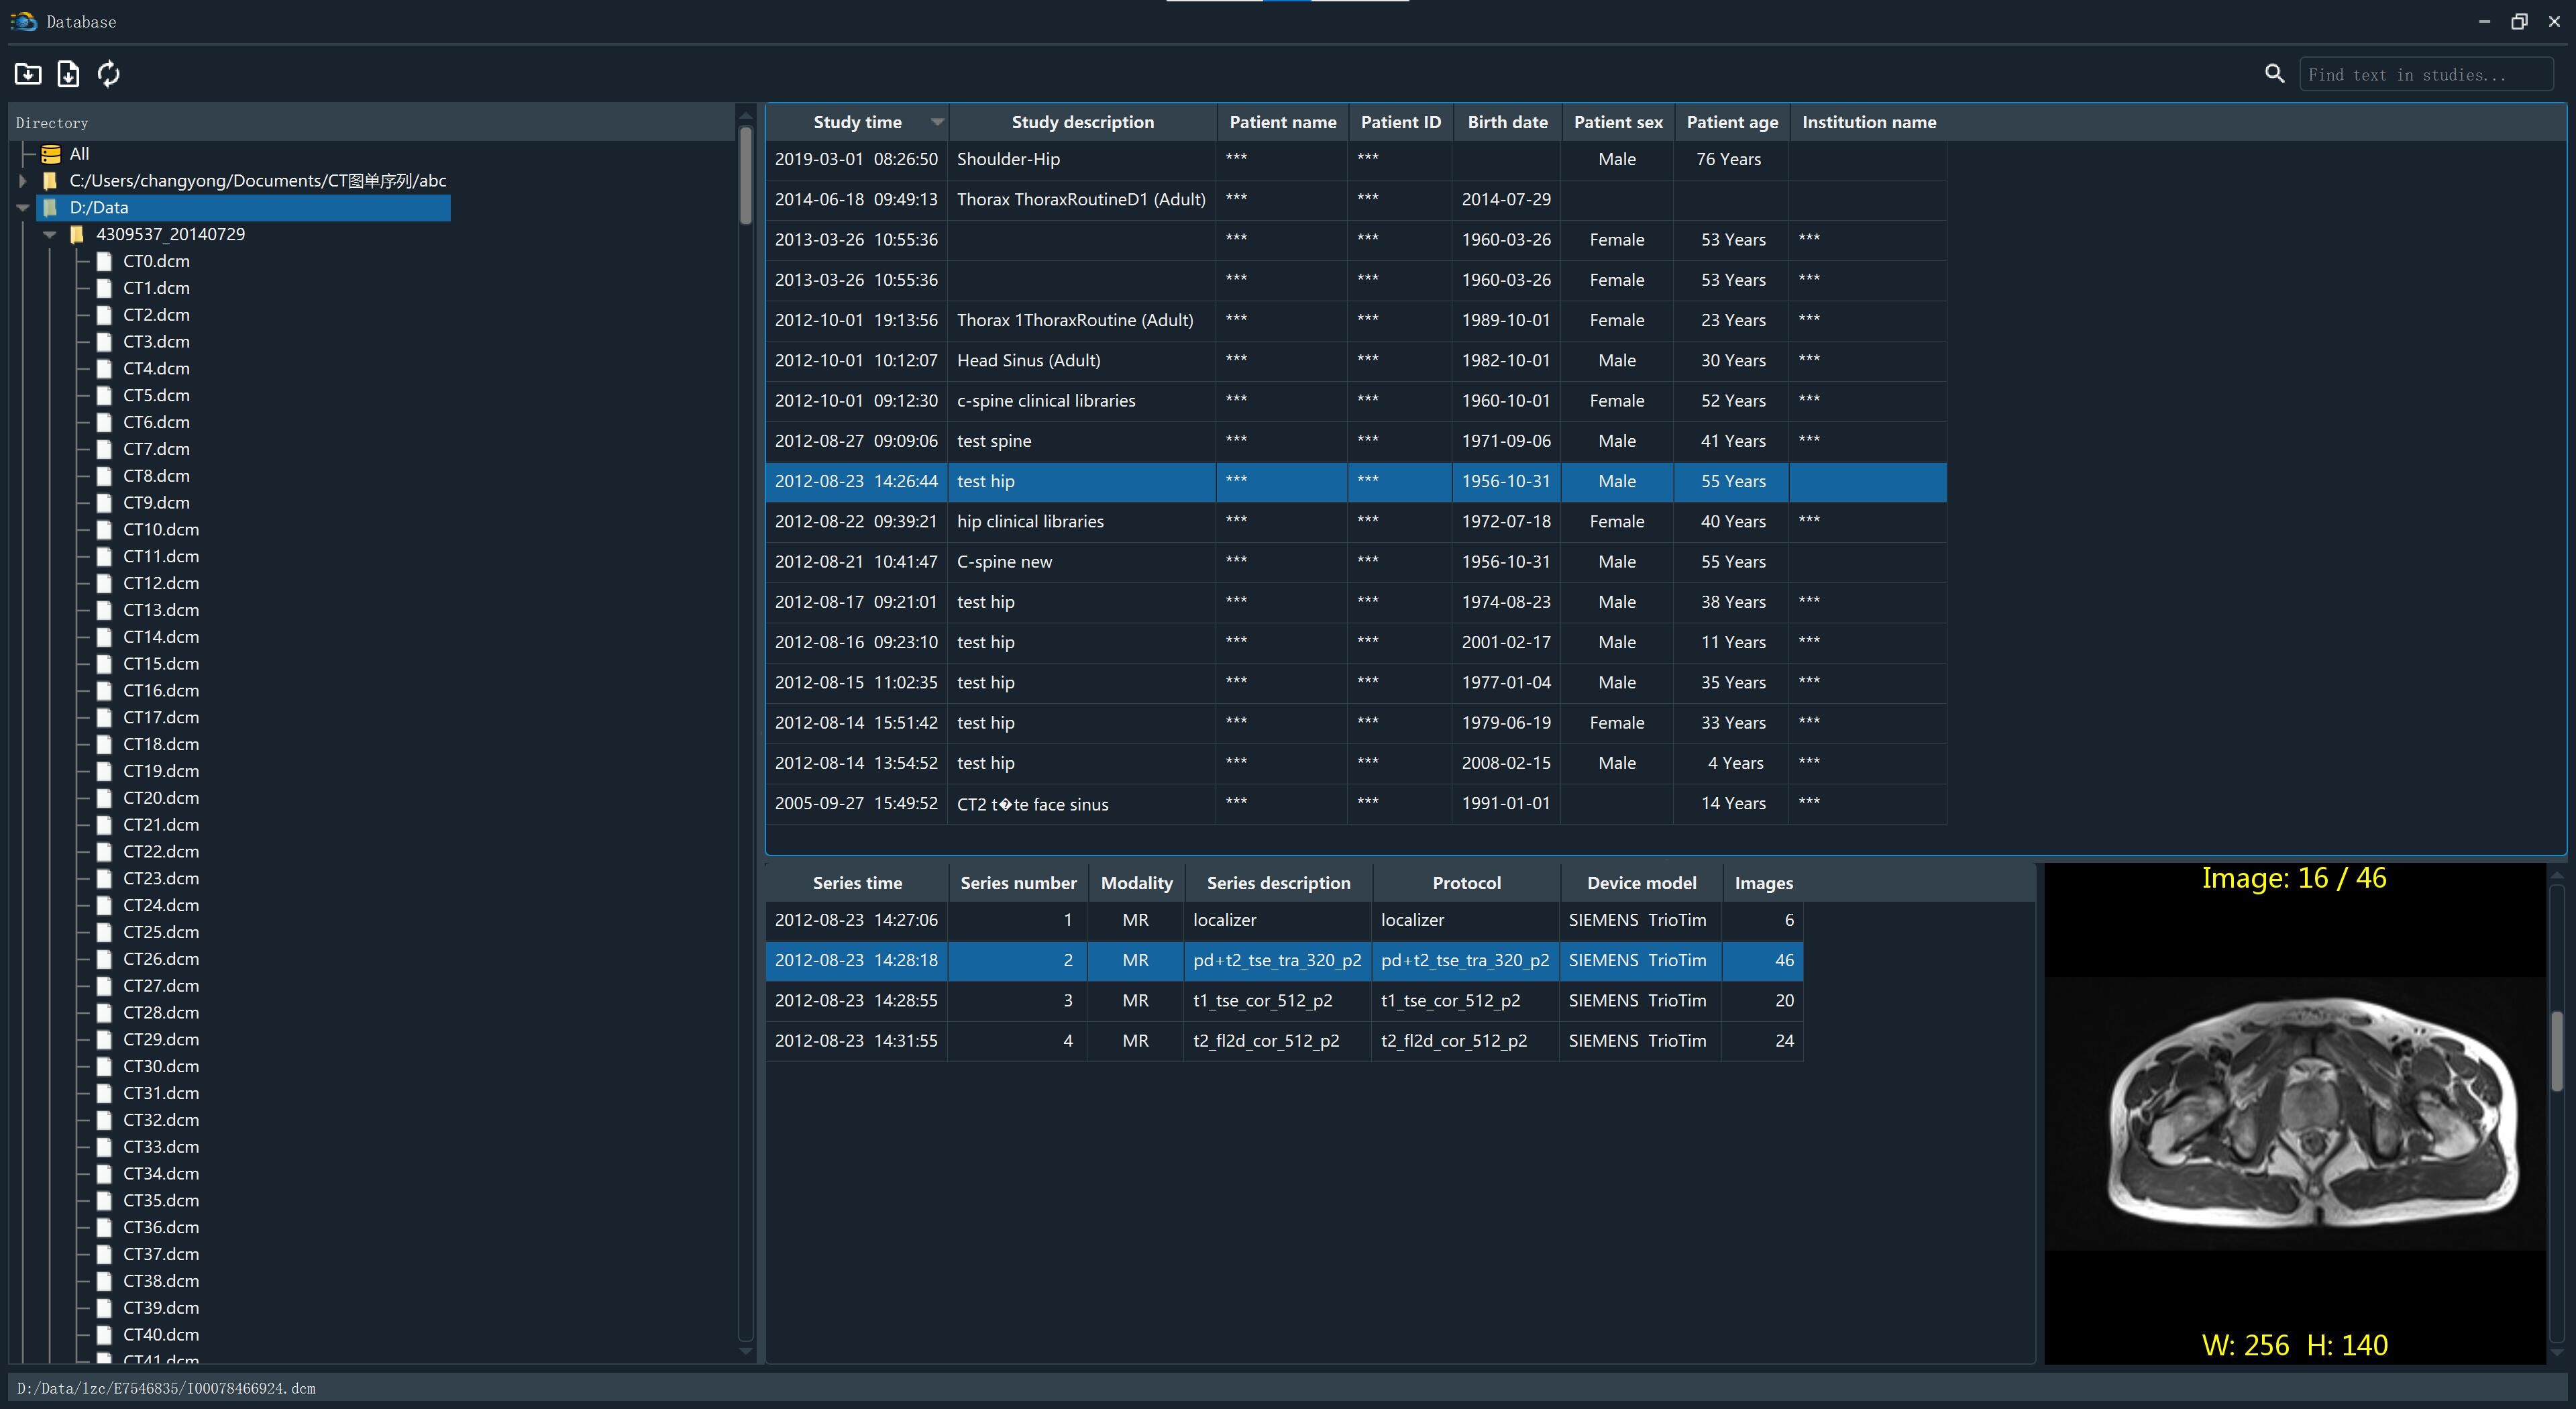
From left to right, the dialog contains:
- Directory: the tree of directories indexed in the database, where you can select the directory to look at.
- Study list: the studies in the selected directory or search result, showing study time, study description, patient name / ID, birth date, sex, age and institution name.
- Series list: the series belonging to the selected study, showing series time, series number, modality, series description, protocol, device model and image count.
- Image preview: a preview of the first image of the selected series.
The dialog offers the following operations:
- Import directory / Import files: import DICOM directories or files into the database and index them.
- Update database: rescan the indexed directories so that newly added files are picked up.
- Find: type a keyword in the box at the top right to search among the studies.
- Delete records: delete the selected records.
- Open to show / Add to show: load the selected studies or series into the main window. "Add to show" appends them to what is already loaded instead of duplicating it.
- Export: export the selected studies or series as images.
Browse DICOM files
Browse images of series
Once a series has been loaded, VolumeShop switches to the browsing view. The thumbnails of all images in the series are listed on the left, the current image is shown in the middle, and the position of the current image within the series together with a series thumbnail is shown on the right.
- Switch slices: roll the mouse wheel, or press the ↑ / ↓ arrow keys.
- Jump to a slice: drag the slice slider at the bottom of the window, or click a thumbnail in the list.
- Image information: the four corners of the image show the study / series / image index, patient information, window width and level, slice thickness and location, and device information; the current zoom factor is shown at the bottom left.
Adjust window level
Changing the window width and level changes the contrast and brightness of the image. VolumeShop offers several ways to do it:
- Drag to adjust: hold the left mouse button on the image and drag up / down or left / right. Vertical movement changes the window width (contrast), horizontal movement changes the window center (brightness).
- Preset window: click the "Adjust window" button and choose "Preset window" from its drop-down menu, where window width and level presets for different anatomies are listed, such as bone, abdomen, brain, lung, liver, mediastinum and soft tissue.
- Custom window: choose "Custom window" in the same menu and enter the window width and center directly in the dialog.
- Default window: choose "Default window" to restore the window width and level stored in the DICOM file.
- Invert color: "Invert color" in the same menu displays the image with black and white reversed.
Zoom image
- Wheel zoom: hold Ctrl and roll the mouse wheel to zoom about the pointer position.
- Drag zoom: hold the right mouse button on the image and drag up or down.
- Fixed zoom factors: click the "Zoom" button and choose "Real size (100%)", "2x size (200%)" or "4x size (400%)" from its drop-down menu.
- Custom size: choose "Custom size" and enter a zoom factor in the dialog.
- Fill viewport: choose "Fill viewport" to fit the image to the window.
Pan image
Hold the middle mouse button and drag to pan the image. When the "Pan" tool is currently selected, you can also drag with the left mouse button.
Rotate image
Click the "Rotate and flip" button and choose "Rotate 90° CW" or "Rotate 90° CCW" from its drop-down menu to rotate the current image.
Flip image
Click the "Rotate and flip" button and choose "Flip horizontal" or "Flip vertical" from its drop-down menu to flip the current image.
Reset image
Click the "Reset" button to restore the image to its initial appearance; zoom, pan, rotation, flip and color inversion are all reset.
Display size and interpolation
"Interpolation" in the drop-down menu of the "Zoom" button offers two interpolation modes:
- None: enlarges the image with nearest-neighbour sampling, which shows the pixels as blocks and is useful for examining individual grey values.
- Linear: bilinear interpolation, which gives a smoother image when enlarged (the default).
Cine
Click the "Cine" button. Its drop-down menu contains a set of playback controls: play / pause, first / previous / next / last, frames per second (speed up, slow down, reset FPS), swap direction and stop. Cine playback is convenient for reviewing dynamic series.
Screenshot
Click the "Screenshot" button to save the current view as a BMP, JPG or PNG image. The saved image matches what is on screen exactly, including all annotations drawn over the image.
View DICOM tag
Click  button, VolumeShop will pop up a new window to show the details of the current file.
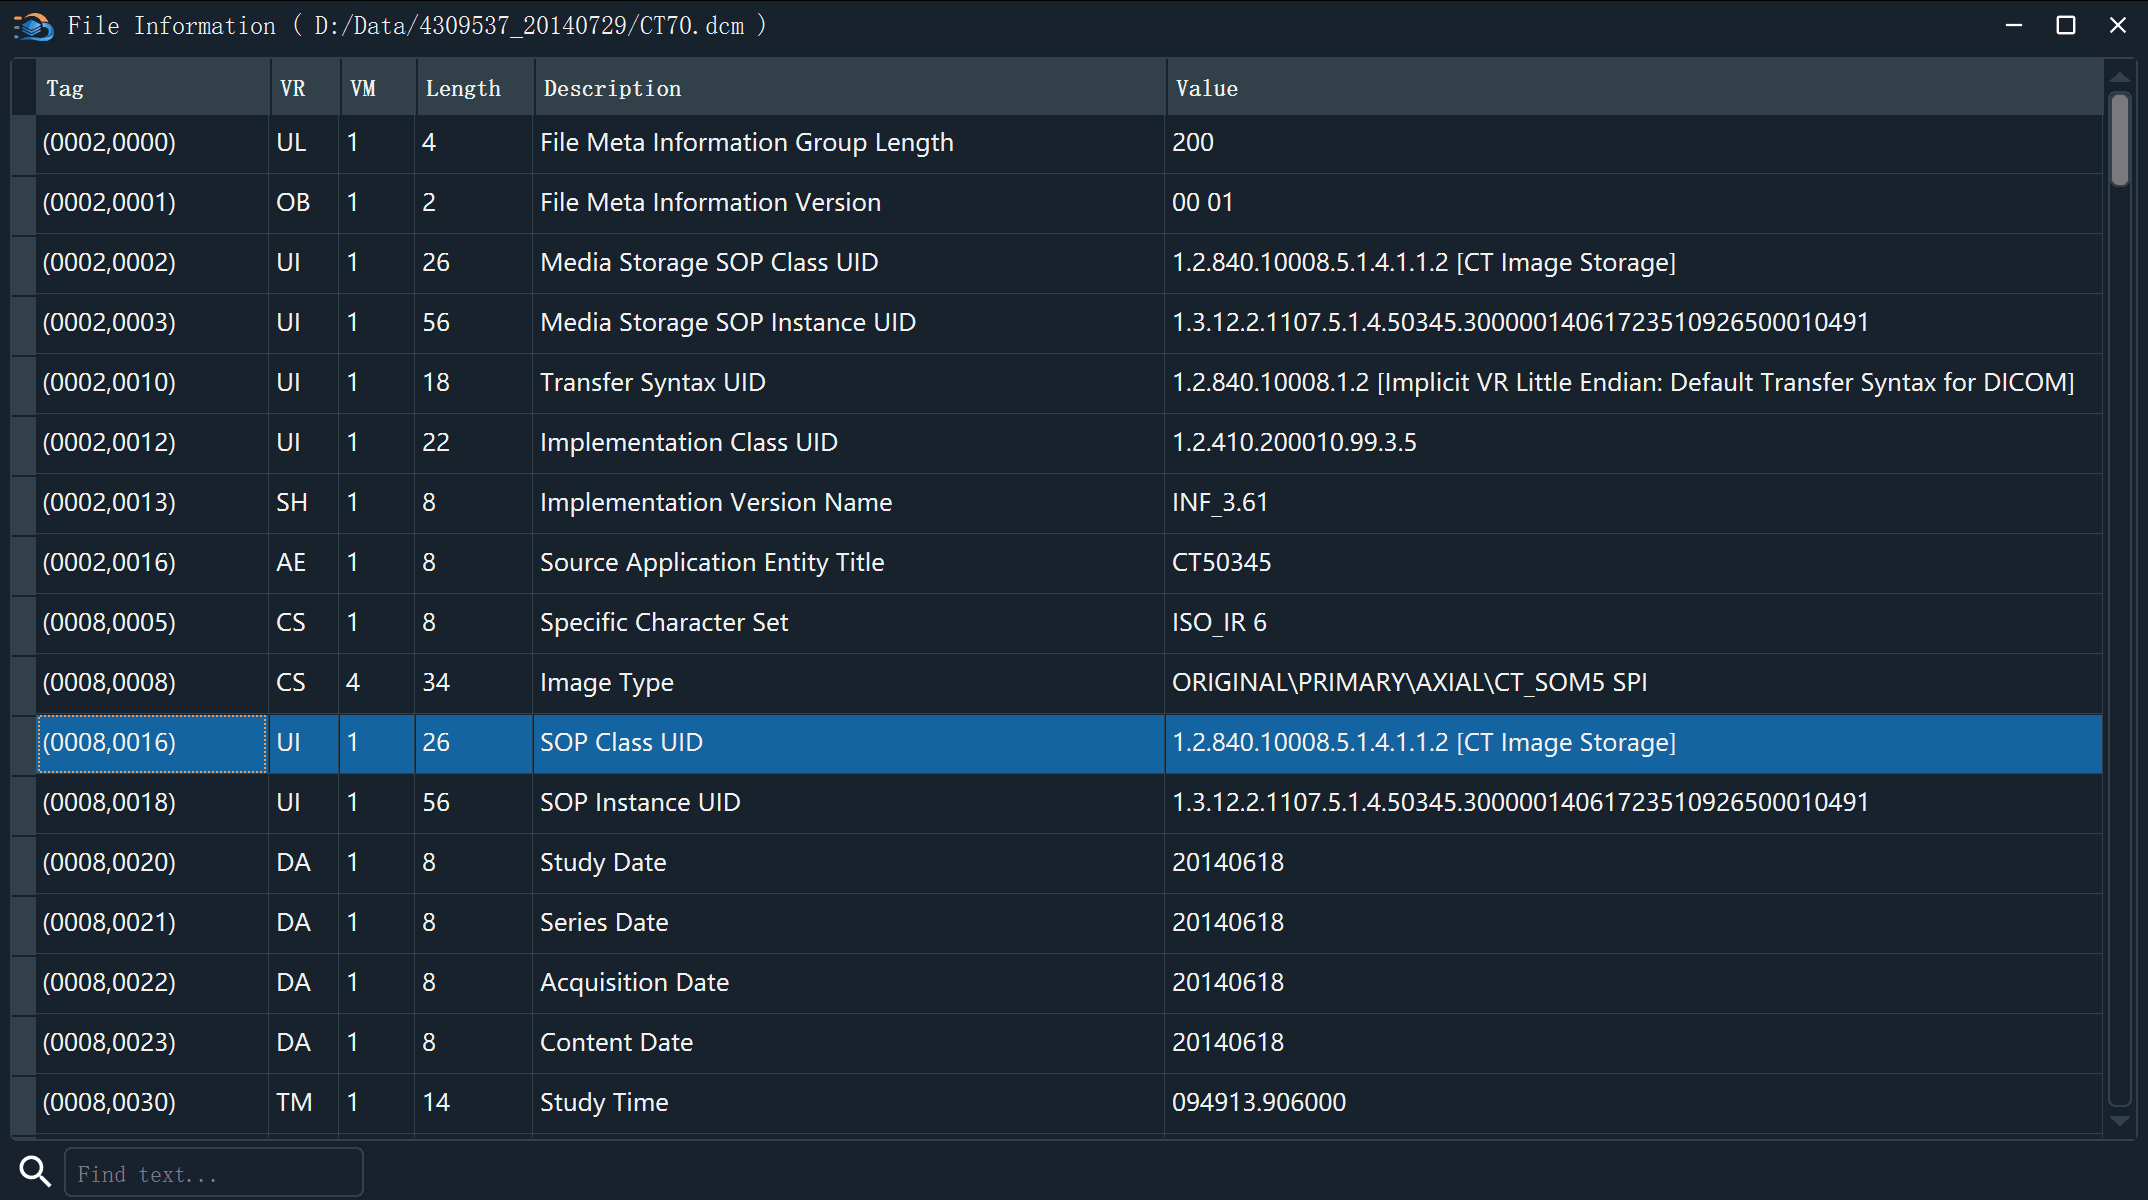
The file information window lists the DICOM data elements by tag, value representation (VR), value multiplicity (VM), value length and value. "Add a column" on the toolbar adds one more column of information to the list.
Multi-window display
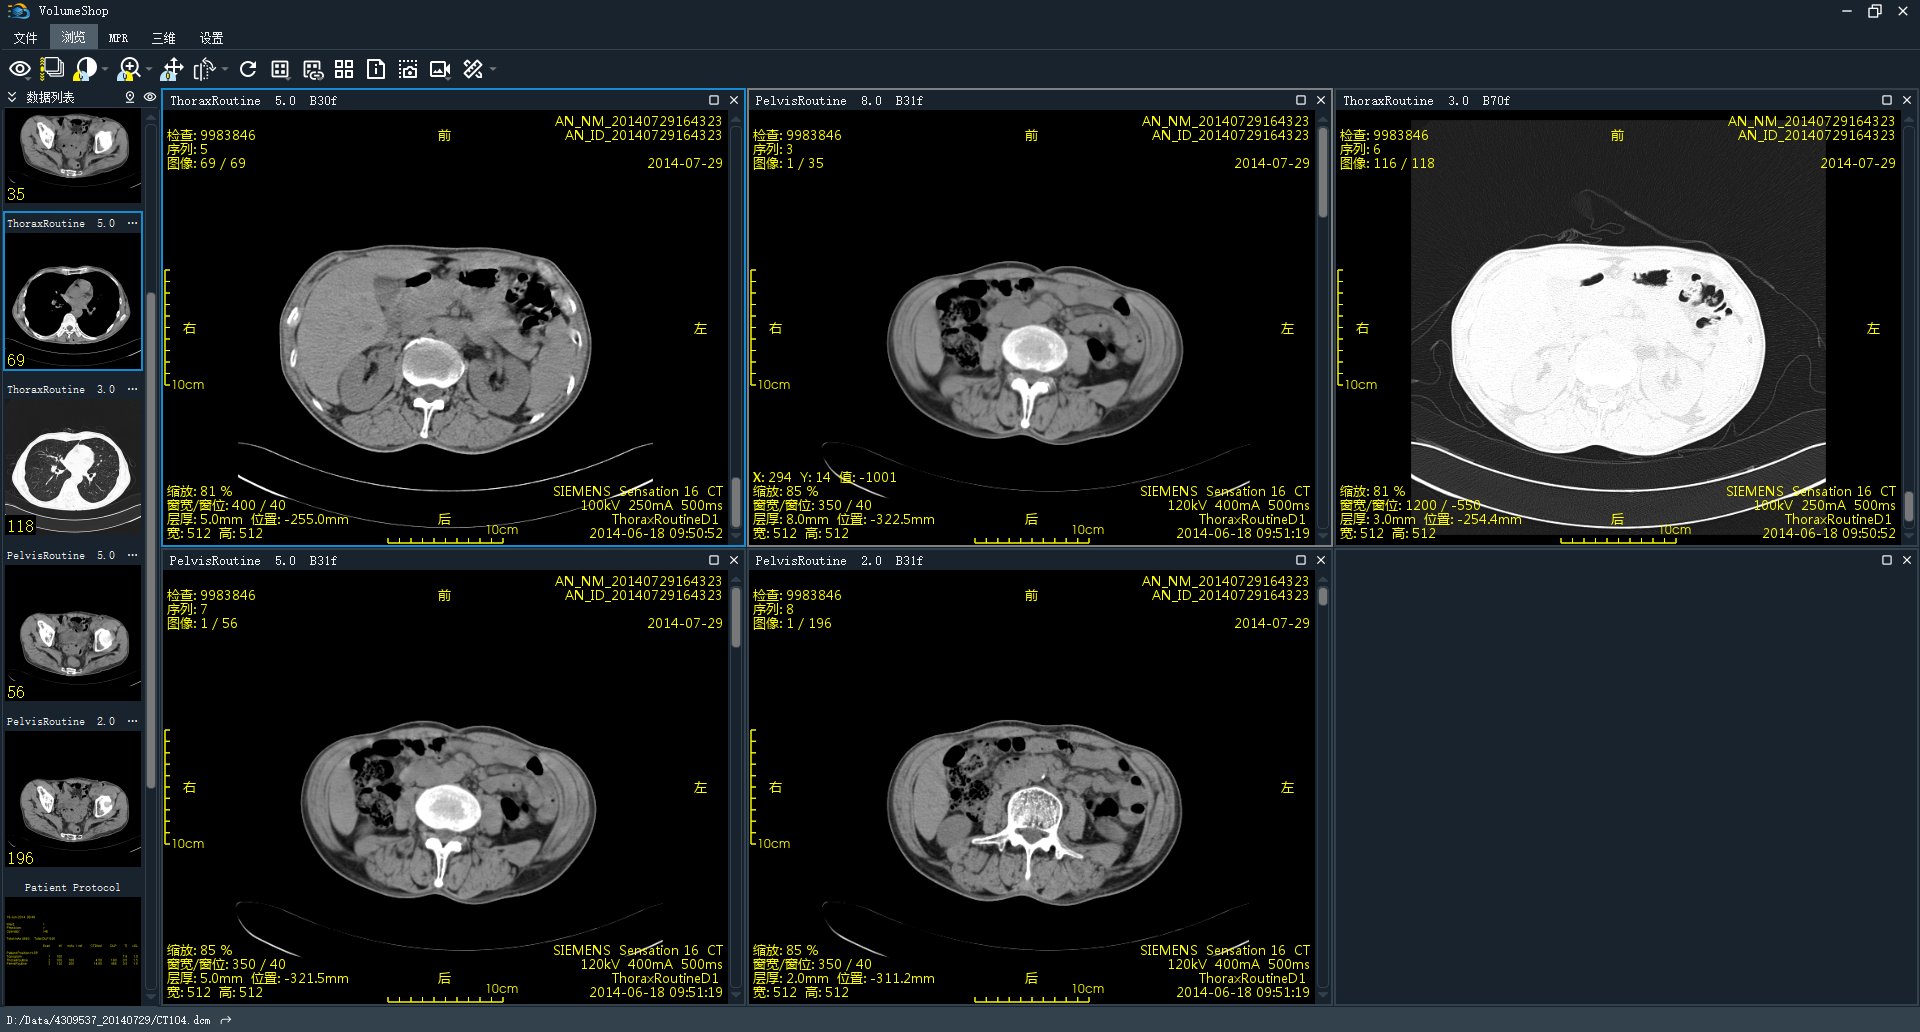
- Select multi-window layout
From the drop-down menu of  button, select a layout to create multiply windows. The current subwindow will display the series chosen in preview region, you also can drag a series from preview region to the desired subwindow for display. Double-click on the subwindow to maximize it, then double-click again to restore to the multiwindow layout.
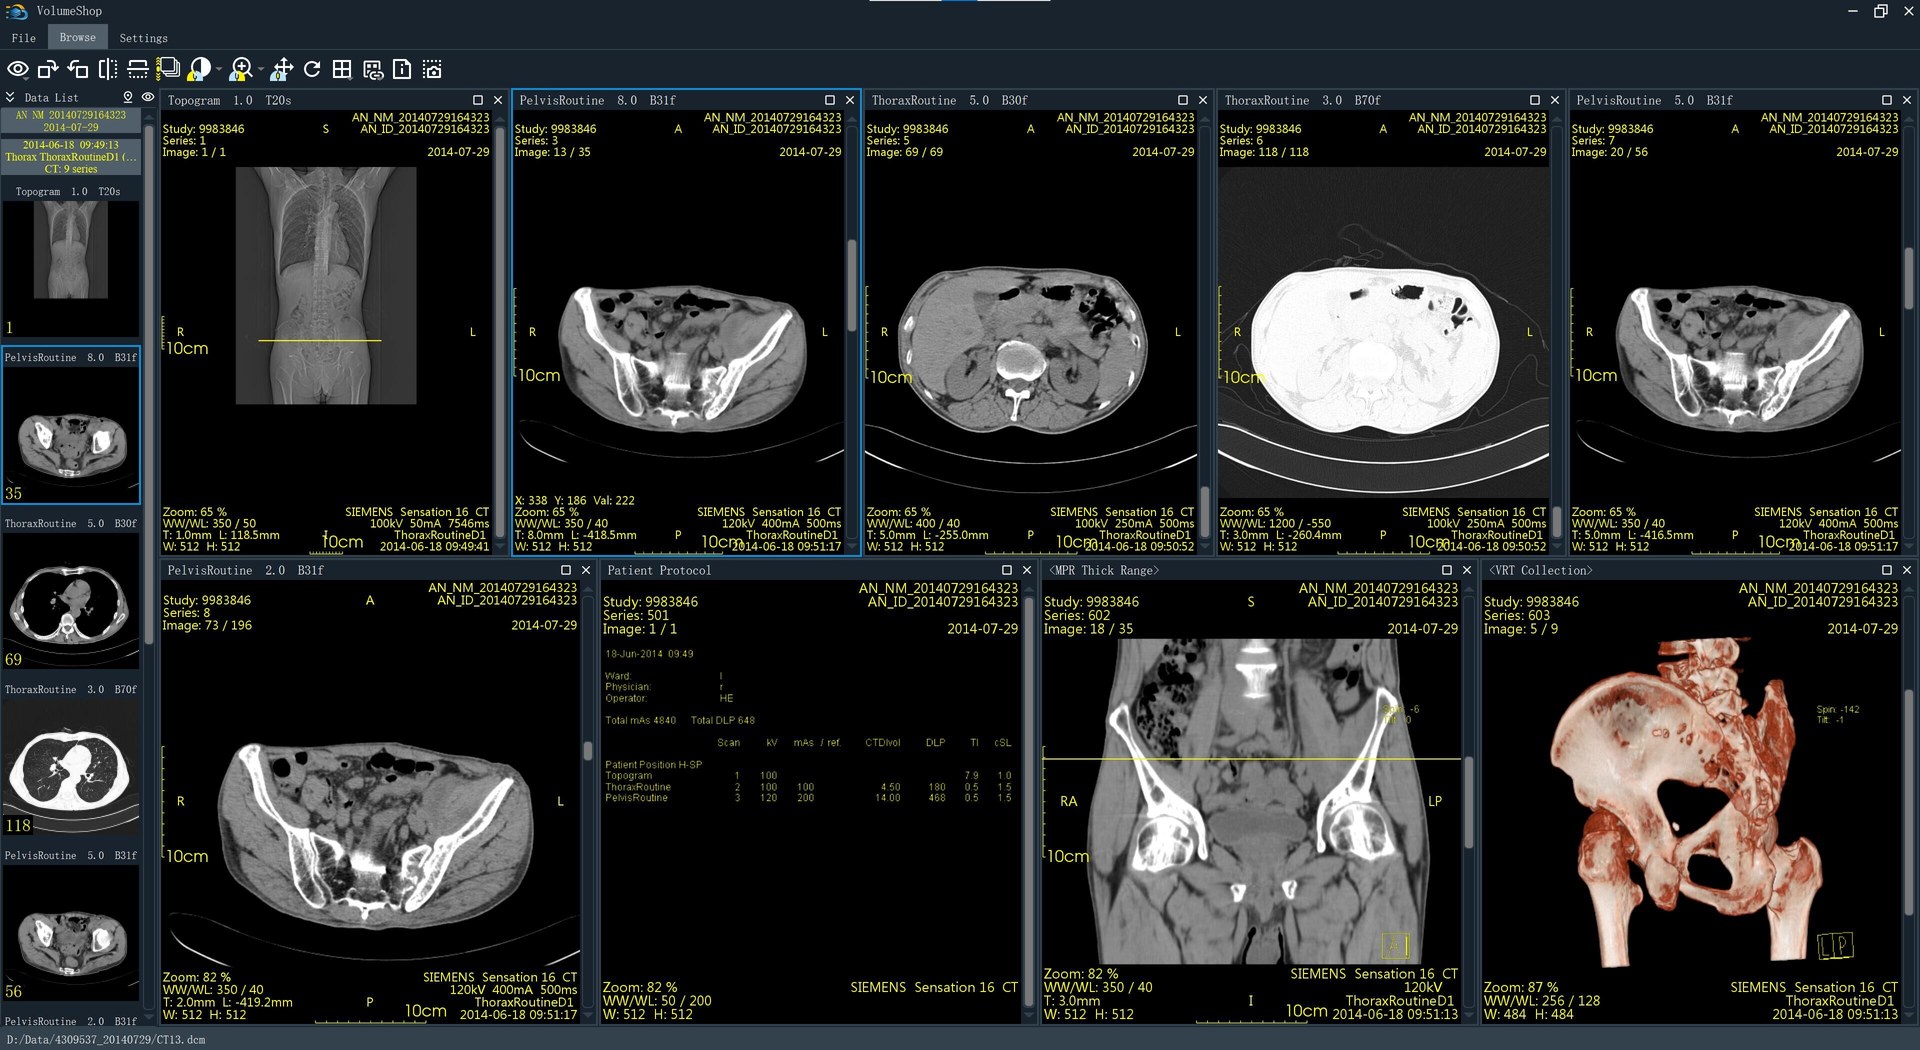
- Open current study
Click 'Open current study' in the drop-down menu of button, you can open conveniently all series of the current study in multiply windows at the same time.
Series sync
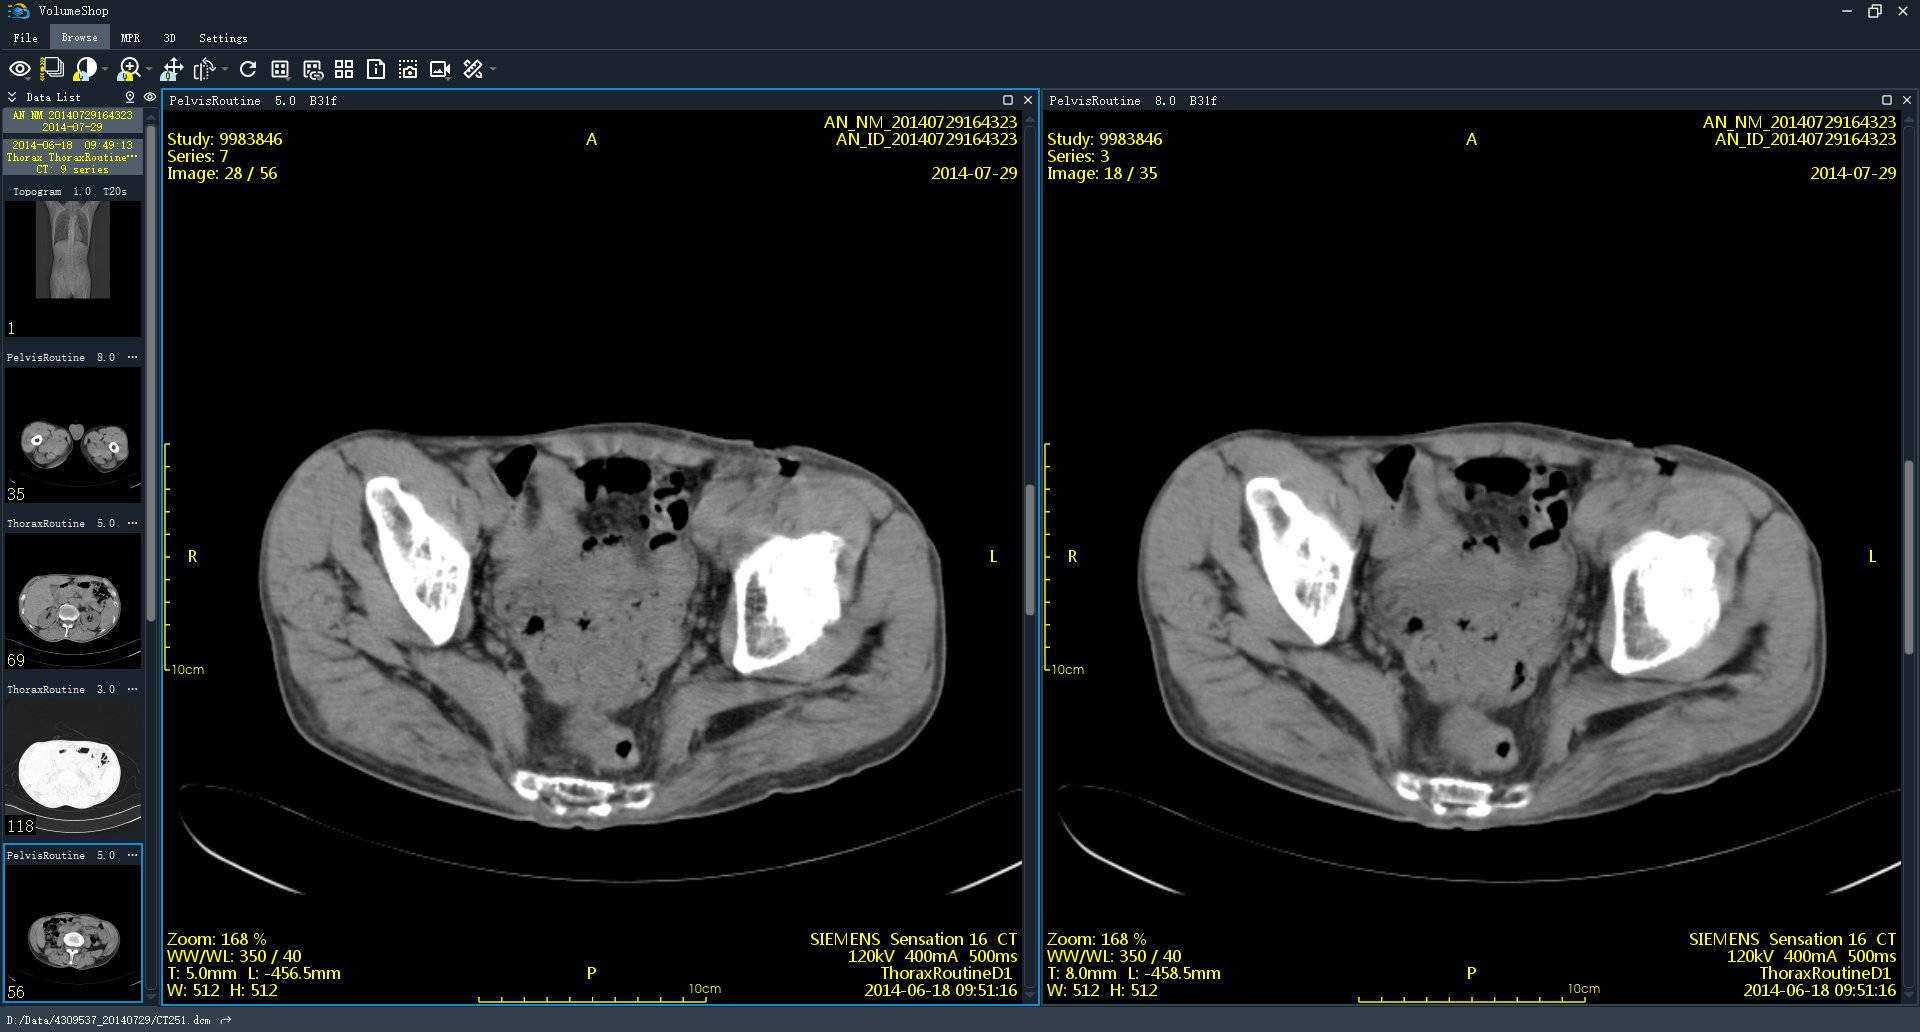
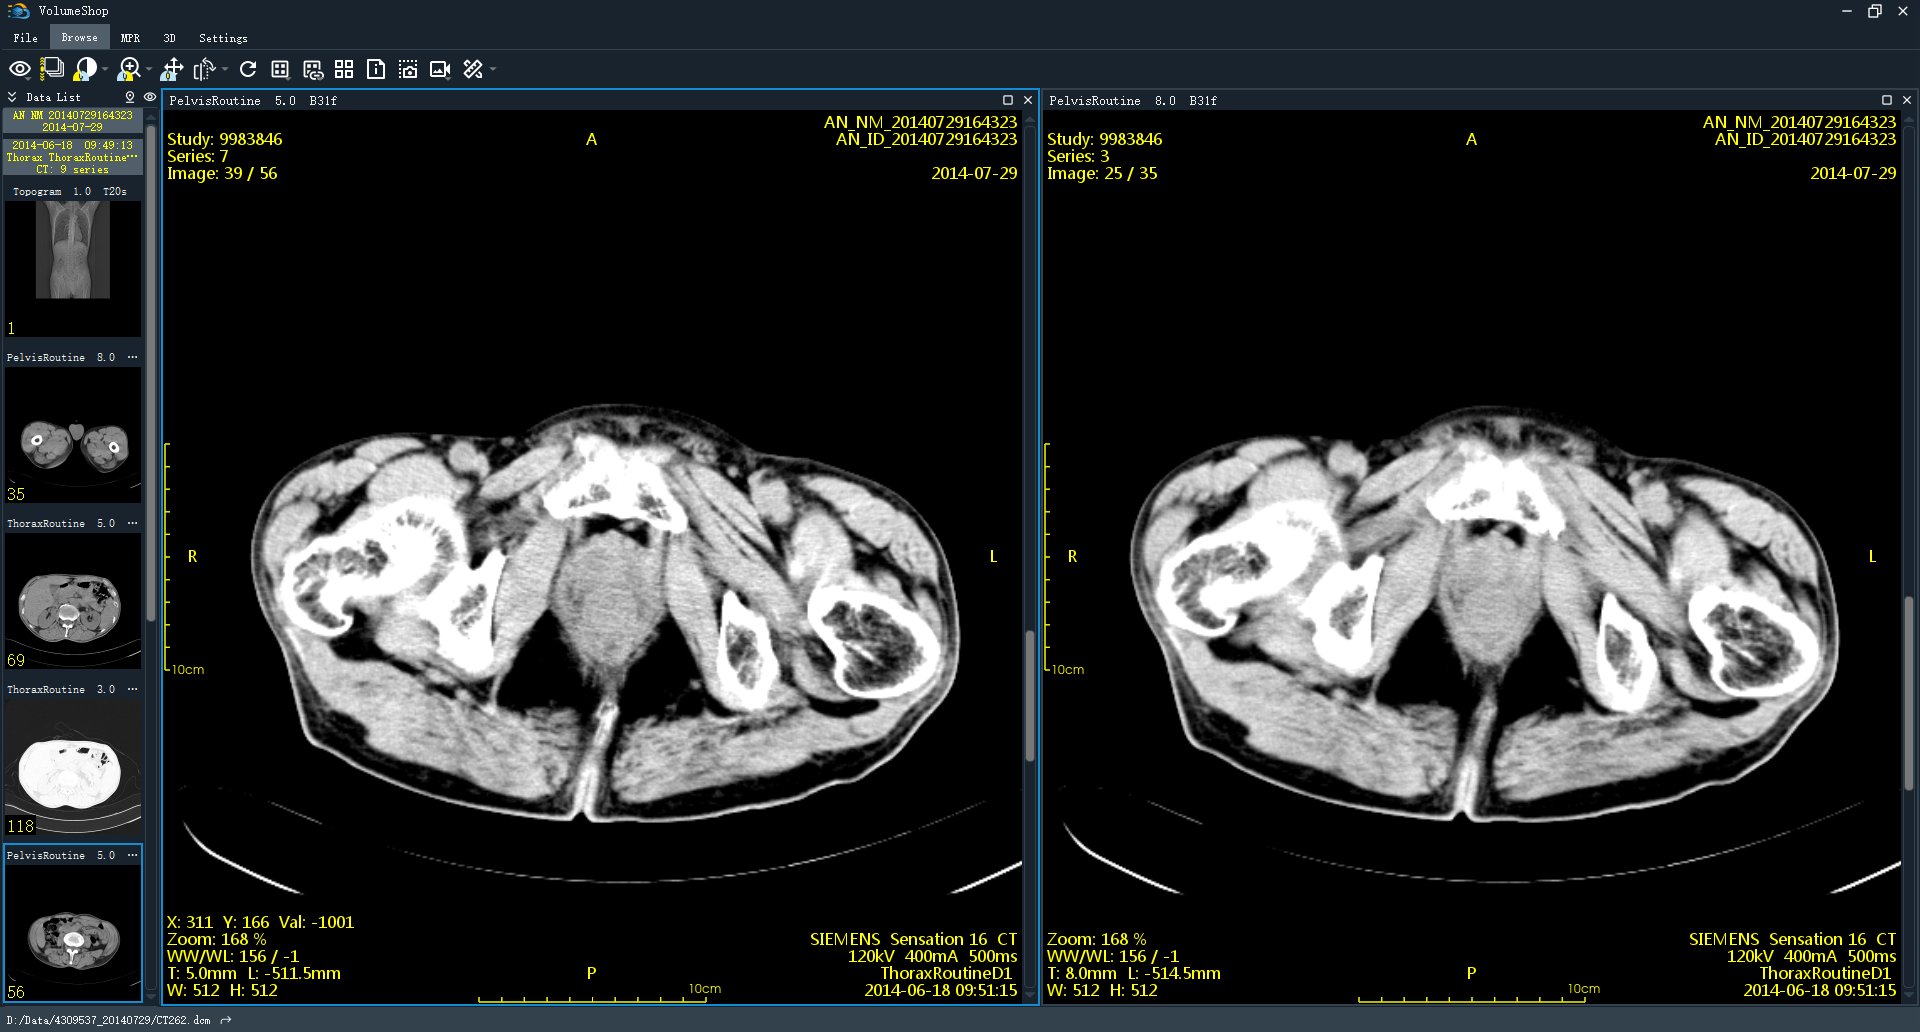
VolumeShop provides three kinds of sync (slice location, window level, and zoom and pan) between the series opened in multiple windows. By default, the sync of the window level is off, the other is on. You can toggle them on and off in the drop-down menu of  button.
- Slice location sync
- Window level sync
- Zoom and pan sync
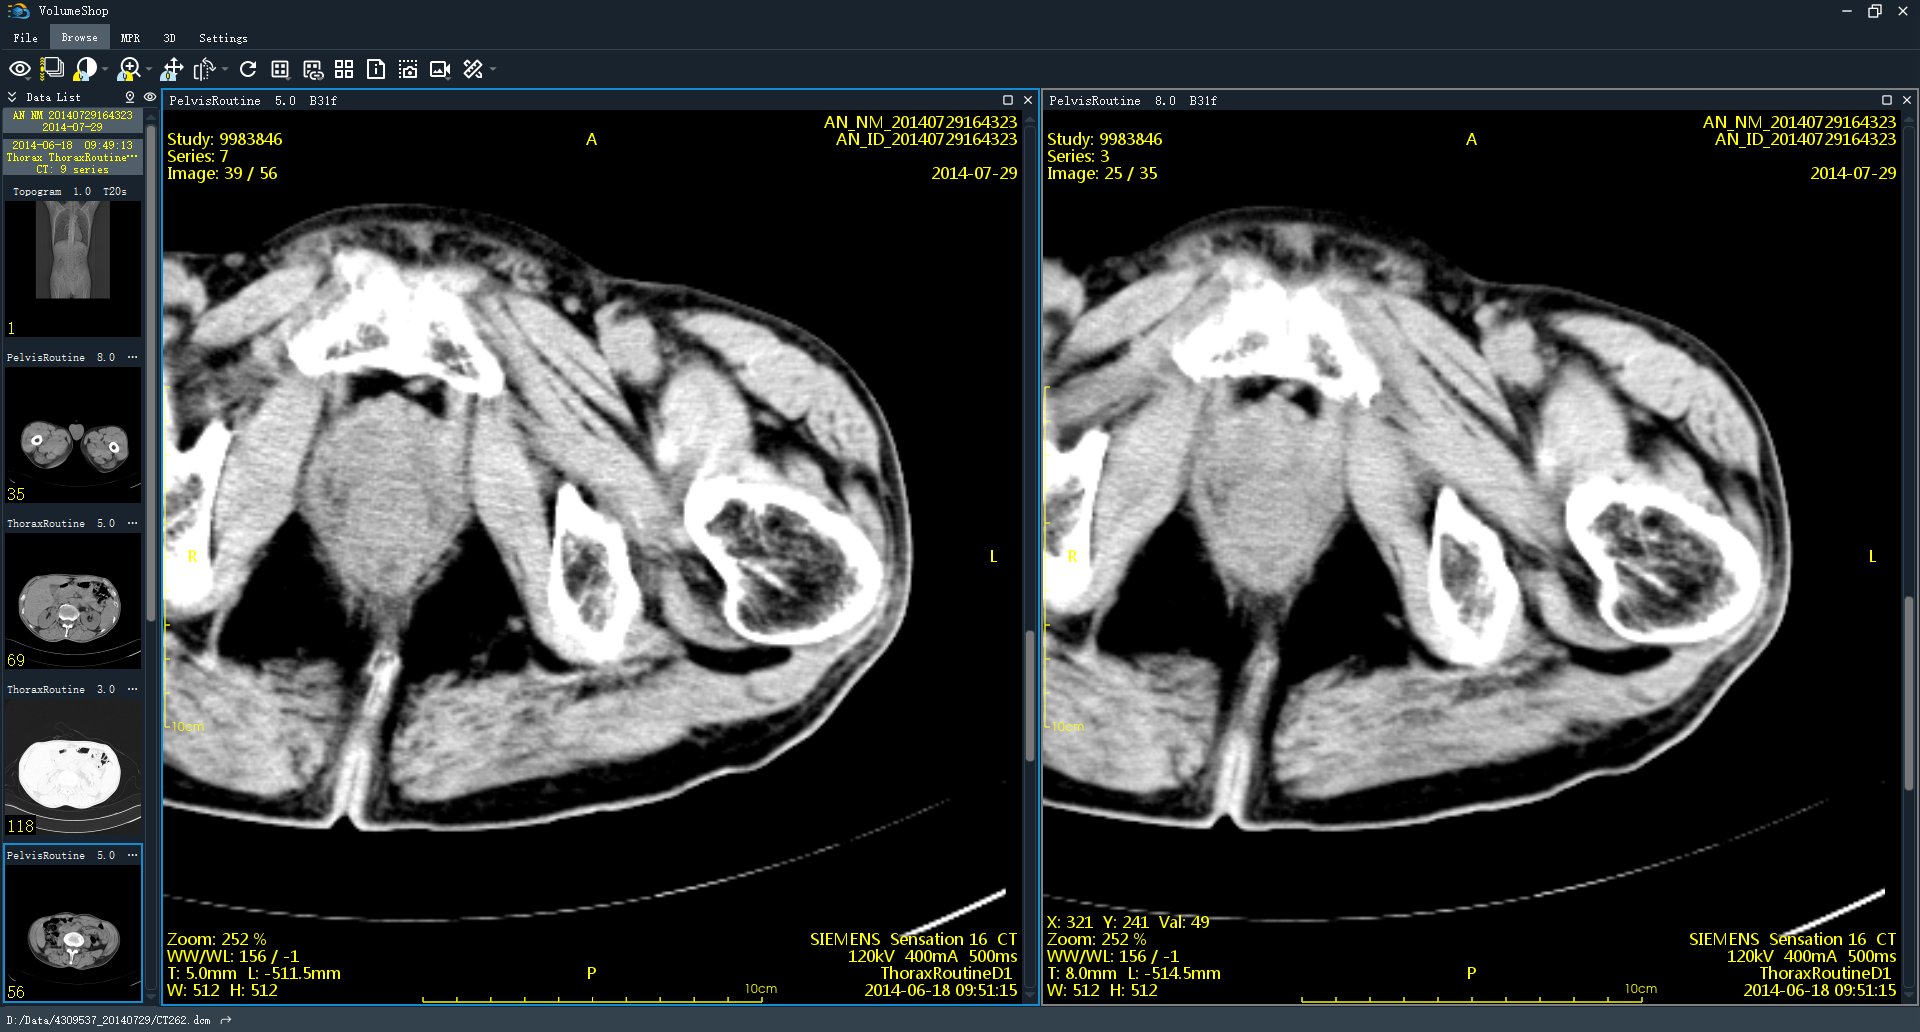
Tile images
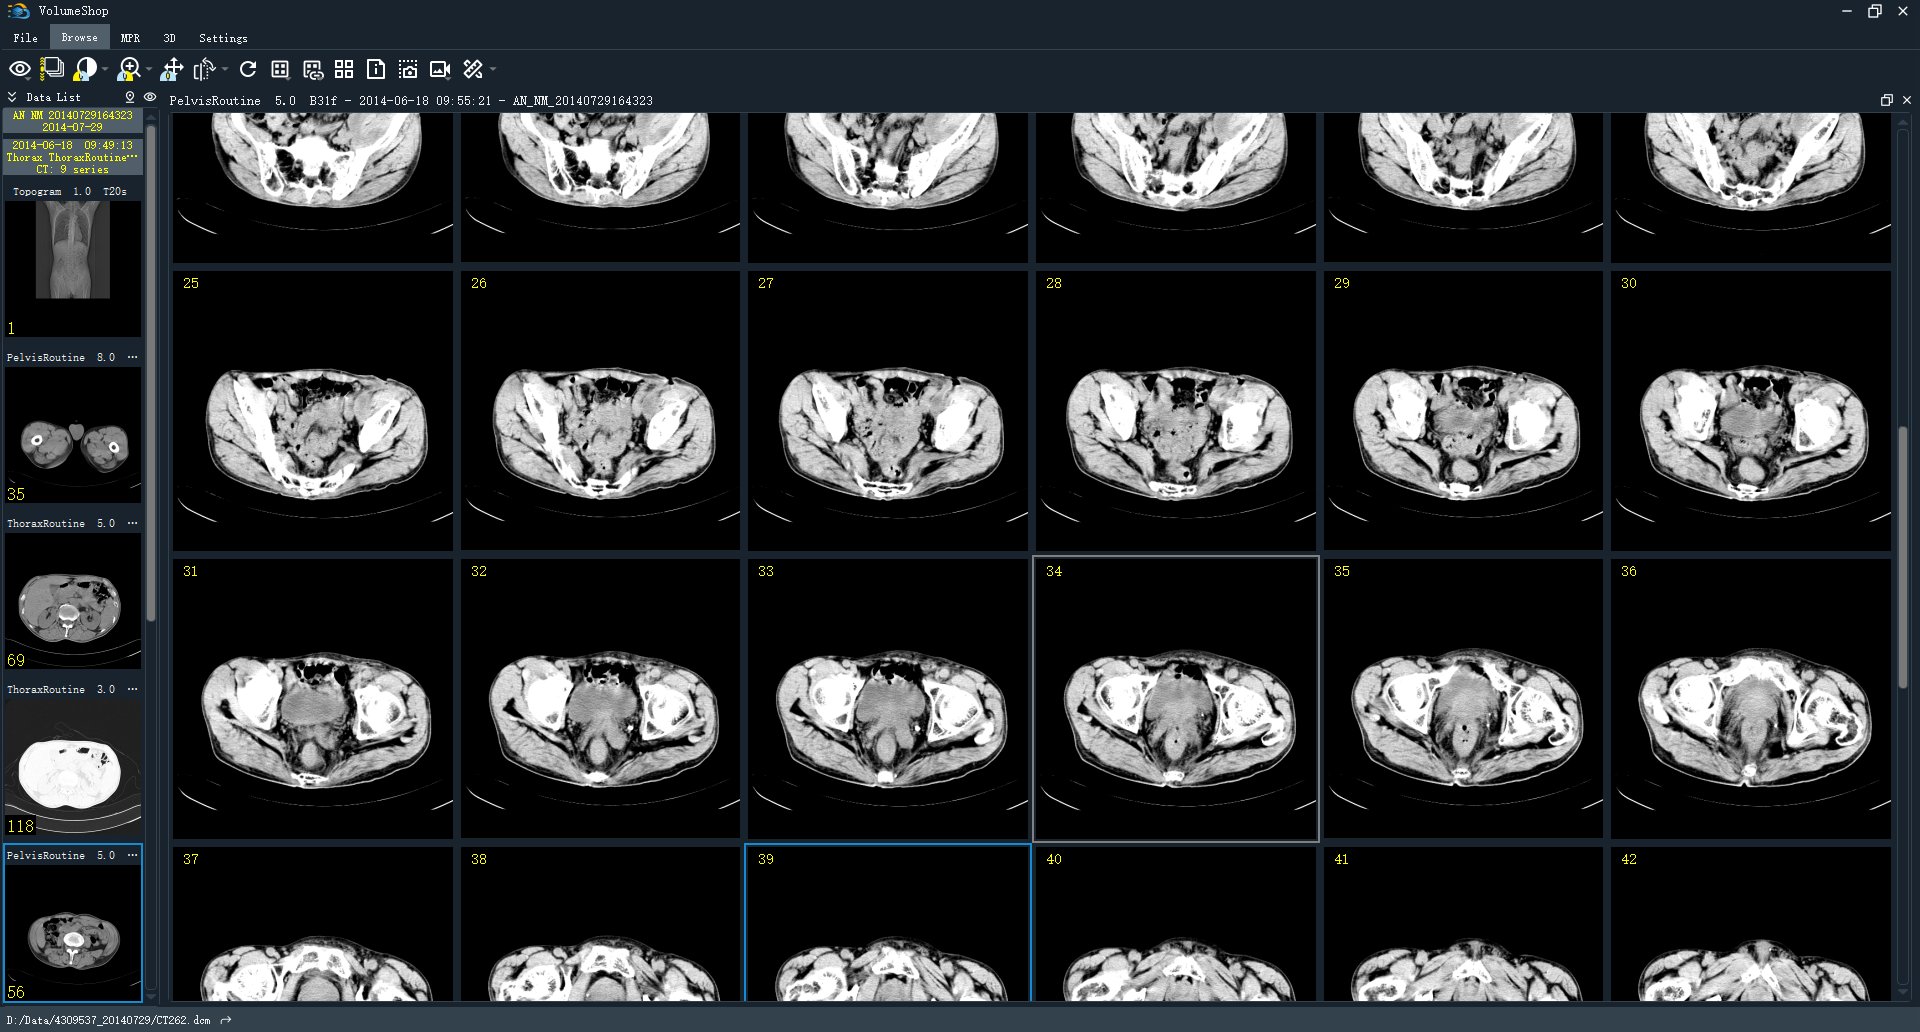
VolumeShop could tile all images of current series when you click on  button. In series tile-view, several interactions are provided as follow:
- Left mouse button double click: Returns to single image browsing mode.
- Ctrl + mouse wheel forward: Zooms in on all images of series by decreasing the number (minimum: 4) of images per row.
- Ctrl + mouse wheel backward: Zooms out on all images of series by increasing the number (maximum: 20) of images per row.
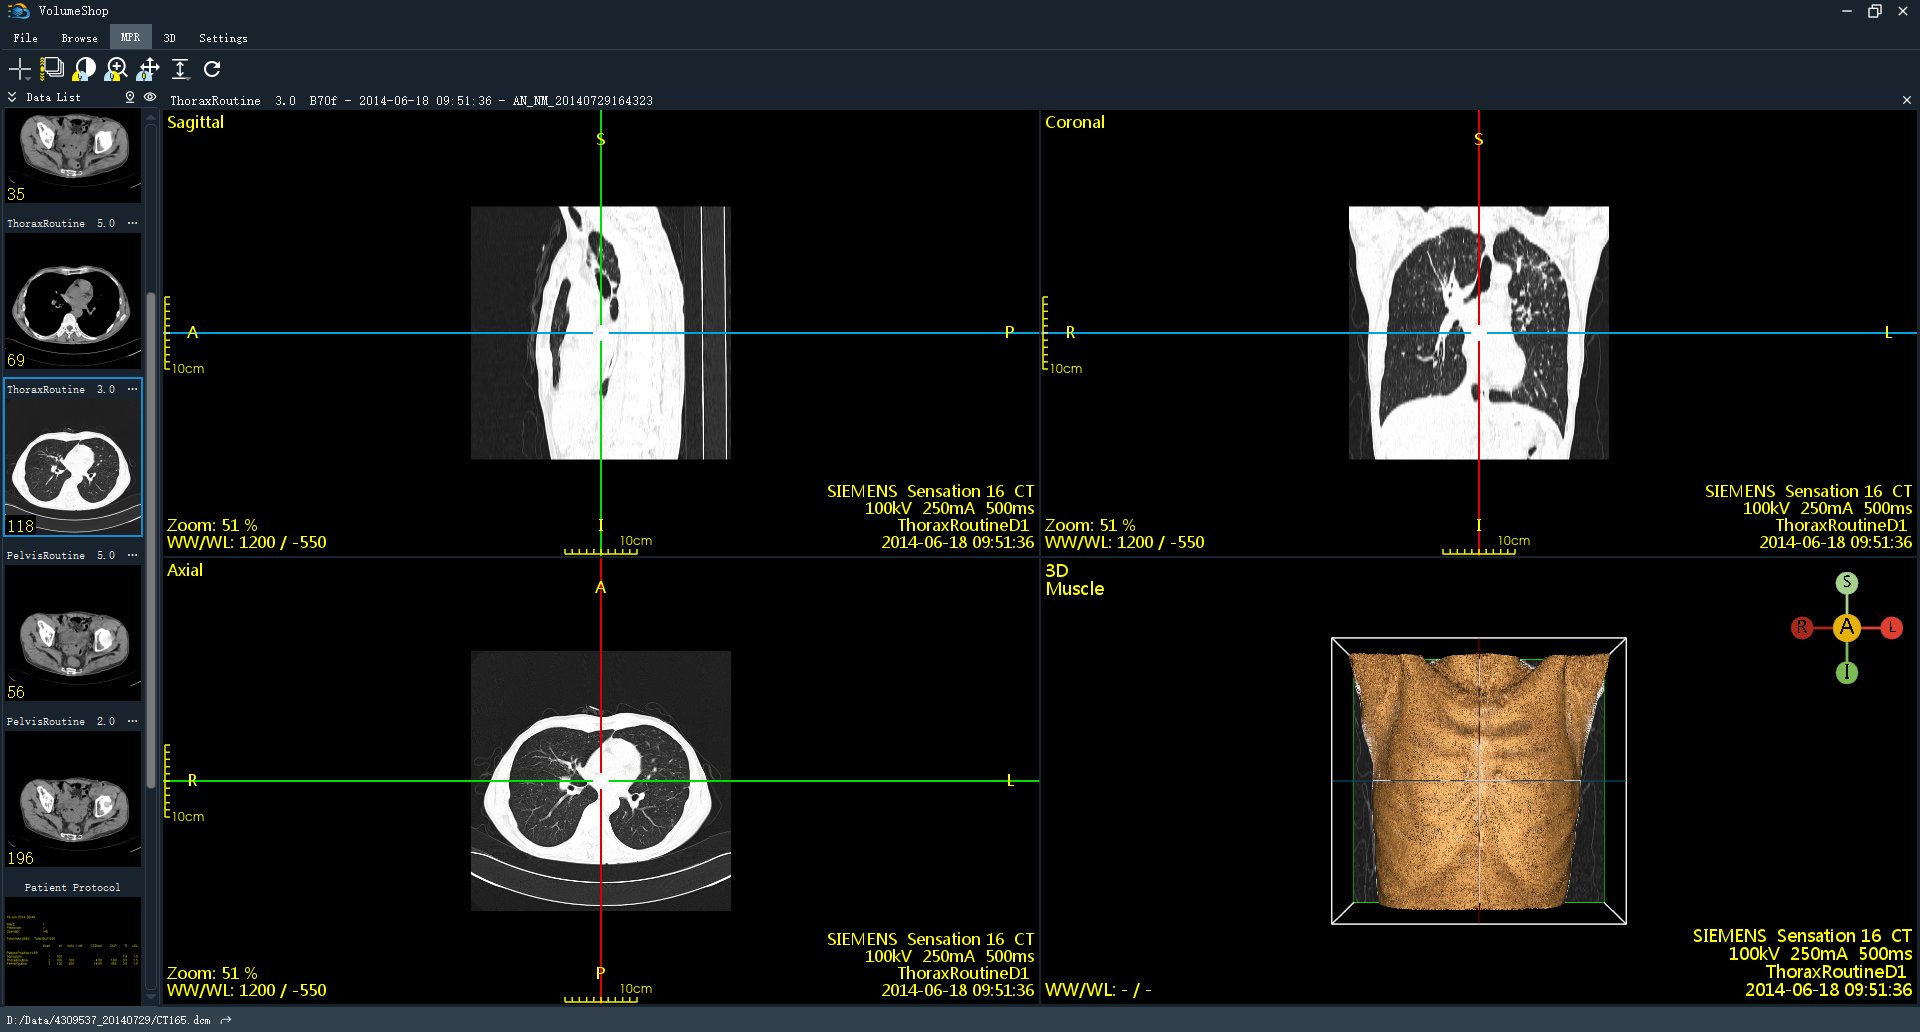
Multiplanar reconstruction
Multiplanar reconstruction (MPR) is a post-processing technique that reslices data from a series of 2D images acquired in a certain plane into another plane.
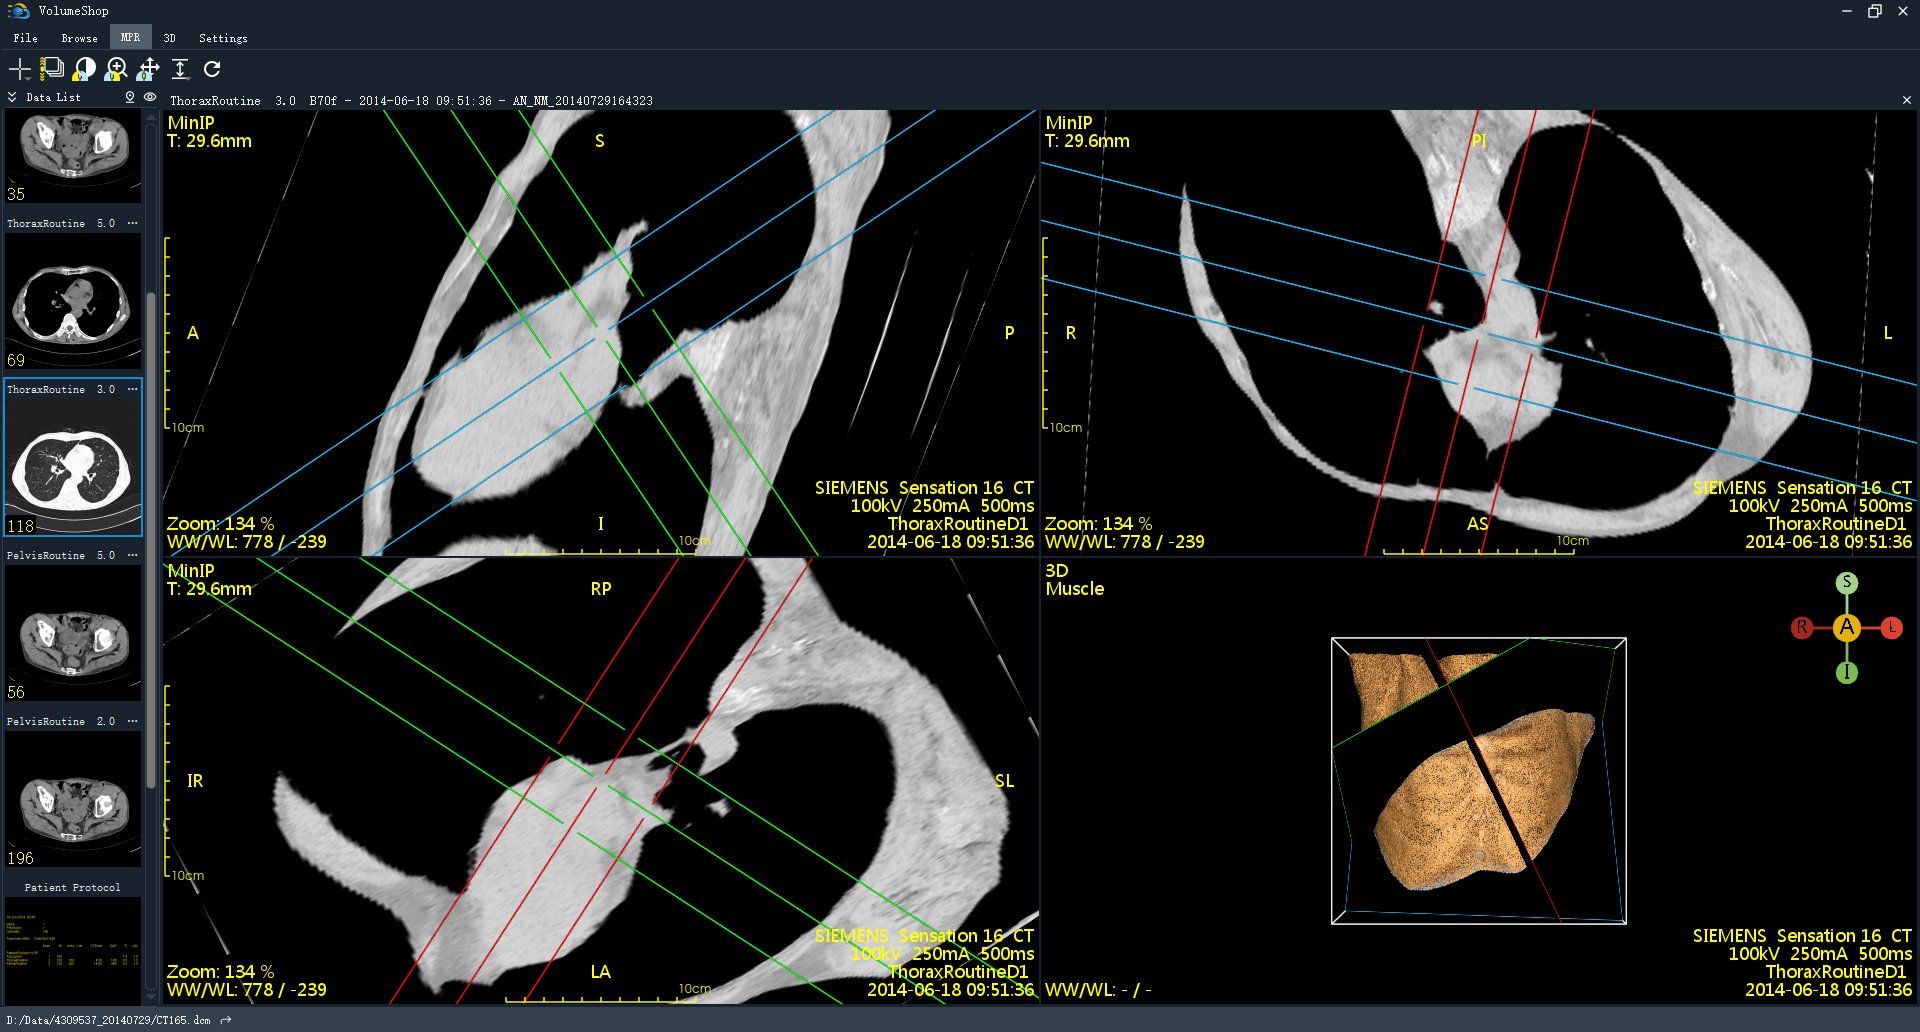
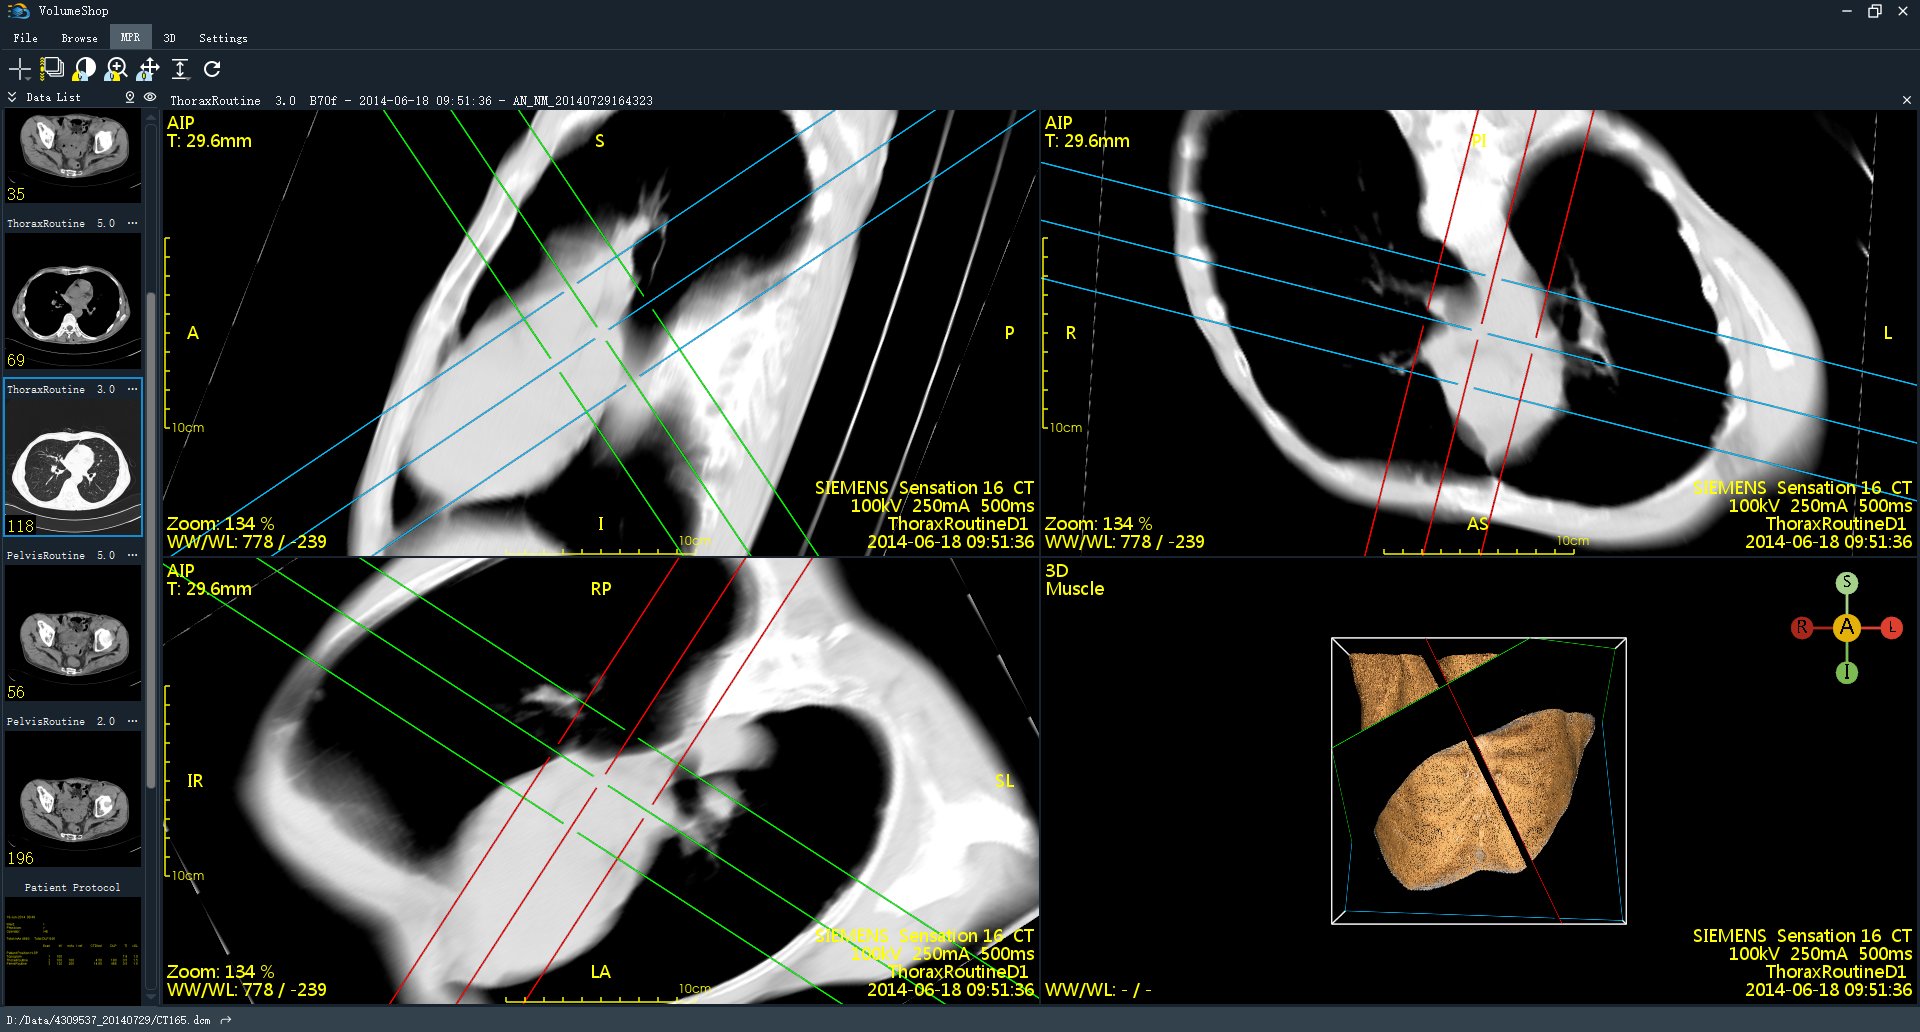
Also, reconstruction data can be used to generate maximum intensity projection (MIP), minimum intensity projections (MinIP) or average intensity projection (AIP).
Working in the reconstruction views
The MPR view is divided into three views by default, showing the sagittal, coronal and axial reconstructions.
- Switch slices: roll the mouse wheel, or hold the left mouse button and drag up / down.
- Adjust window: hold the right mouse button and drag.
- Zoom: hold the middle mouse button and drag, or hold Ctrl and roll the mouse wheel.
- Pan: hold Ctrl and drag with the left mouse button.
- Reset: click the "Reset" button to restore the reconstruction views to their initial state.
Reslice lines and slab thickness
- Drag the reslice lines: each view shows red, green and blue lines that stand for the position of the other two planes. Drag one of them to move the corresponding plane and thus browse the reconstruction at any angle.
- Link reslice line: click the "Link reslice line" button. "Visibility" in its drop-down menu shows or hides the reslice lines, and "Linkability" controls whether they can be dragged (with linking switched off the lines are purely a reference and ignore dragging).
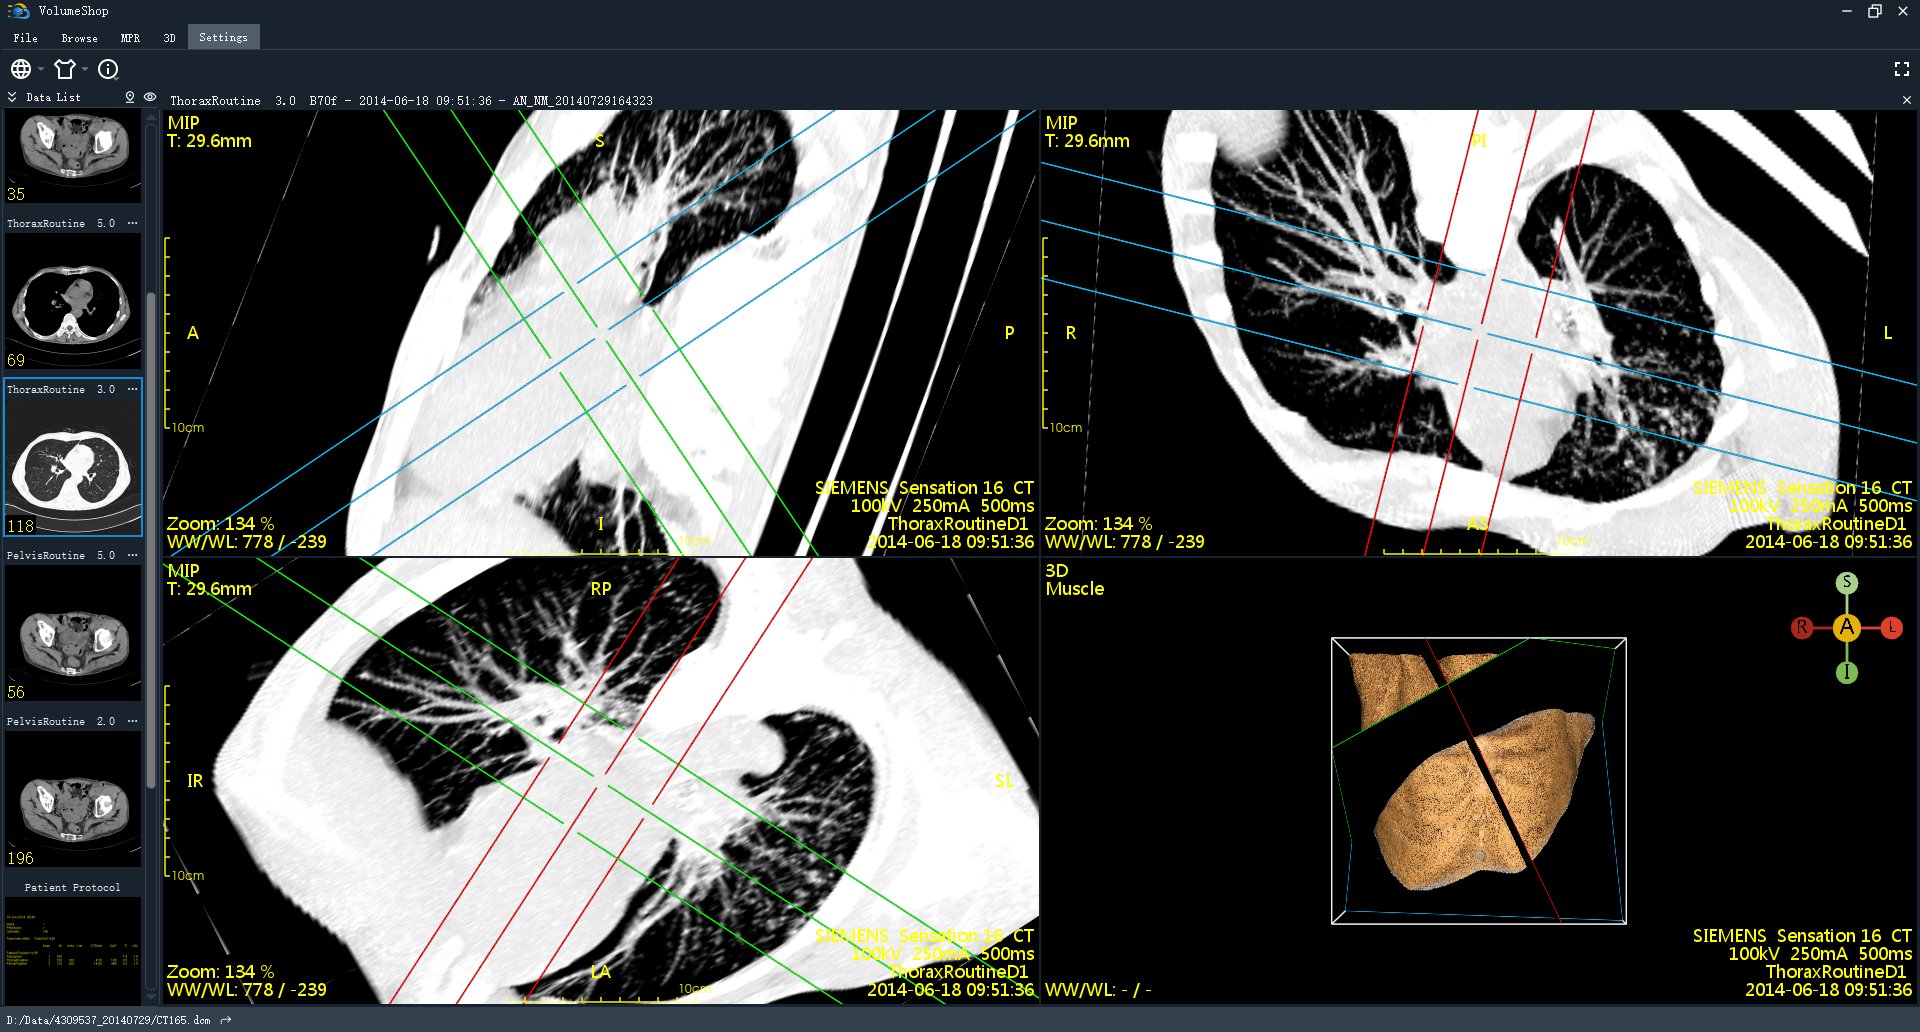
- Reslice thickness: click the "Reslice thickness" button and choose MPR, MIP, MinIP or AIP from its drop-down menu. In MIP / MinIP / AIP mode you can drag the boundary lines on either side of the slab to change the slab thickness, and the result updates as you drag.
Maximum intensity projection
Maximum intensity projection (MIP) consists of projecting the voxel with the maximum intensity on every view throughout the slab of specified thickness onto a 2D image.
Minimum intensity projection
Minimum intensity projection (MinIP) is identical to MIP except for projecting the voxel with minimum intensity.
Average intensity projection
Average intensity projection (AIP) projects the voxel with average intensity of values across the slab, compared with MIP and MinIP.
3D reconstruction
The 3D tab reconstructs the current series as a three-dimensional model that can be examined from any angle. It supports volume rendering together with a number of display elements.
Working in the 3D view
The toolbar buttons in the 3D tab switch what the mouse buttons do. The mapping in effect is drawn on the icon of each button:
- 3D rotate: hold the left mouse button and drag to rotate the model.
- Roll: hold the left mouse button and drag to roll the model about the viewing direction.
- Pan: hold the middle mouse button and drag, or select "Pan" and drag with the left button.
- Zoom: roll the mouse wheel, or select "Zoom" and drag with the left button.
- Adjust window: hold the right mouse button and drag; you can also select "Adjust window" and drag with the left button.
Reslice plane
Click the "Reslice plane" button. "All reslice planes" in its drop-down menu shows or hides the red, green and blue planes together, and each plane can also be toggled on its own. Displaying the reslice planes in the 3D view makes it easier to see where the current position sits in space.
Bounding box and volume rendering
- Bounding box visibility: click the "Bounding box visibility" button to show or hide the bounding box.
- Volume rendering visibility: click the "Volume rendering visibility" button to show or hide the volume-rendered body itself.
Both settings are saved automatically and restored the next time you enter the 3D tab.
Color and opacity presets
Click the "Color and opacity presets" button. Its drop-down menu lists presets of colour and opacity for different anatomies, such as Default, Bones, Muscle, Skin, Angio, Spine, Pelvis and Torax. Choosing the preset that suits the structure you are looking at gives a more useful rendering.
Measurement
The measurement tools are in the drop-down menu of the "Measurement and mark" button. Pick a tool, draw on the image, and the measurement appears on the image as you draw.
What applies to every measurement tool:
- Draw: hold the left mouse button on the image, drag from the start point to the end point, and release. Every shape except the pencil and the paths can be drawn in this single drag.
- Modify: click the measurement to select it; control points appear, and dragging them changes the shape and size.
- Delete: with the mark selected, choose "Delete selected" from the "Measurement and mark" drop-down menu, or right-click the shape and delete it from the popup menu.
Length
Measures the distance between two points and shows it as D: distance cm. Hold the left button and drag from one end to the other, then release.
Angle
Measures the angle between two segments and is defined by three points: first drag out one side of the angle, release, then drag to the position of the third point and release. The point where the dragging stopped is the vertex of the angle.
Cross length
Measures the lengths of two crossing segments (for example the long axis of a lesion and the perpendicular one). Drag out the first segment, release, then drag the second one and release; the two segments share their midpoint.
Rectangle
Drag out one diagonal of the rectangle. The result shows the length, the width, the area, and the mean, standard deviation, minimum and maximum of the grey values inside the rectangle.
Square
Drag out one diagonal of the square. The measurements are the same as for the rectangle.
Ellipse
Drag out the diagonal of the bounding box of the ellipse. The result shows the major and minor axes, the area, and the grey value statistics inside the ellipse.
Circle
Drag outwards from the centre, or drag out the diagonal of the bounding square. The result shows the diameter and the grey value statistics inside the circle.
Open path
Click the left mouse button repeatedly along the outline of the region of interest to add vertices, then double-click to finish. An open path does not connect its first and last vertices; the result shows the path length and the enclosed area.
Closed path
The same interaction as the open path — click repeatedly to add vertices and double-click to finish — but VolumeShop joins the last vertex back to the first, forming a closed shape. The result shows the perimeter and the area.
Cobb angle
The Cobb angle is used to measure the curvature of the spine and is defined by two segments. Drag out the first endplate line, release, then drag out the second endplate line and release. The angle between the two segments is the Cobb angle.
Deviation
Measures the offset of a position relative to a reference line.
Label
The arrow, text and pencil tools in the drop-down menu of the "Measurement and mark" button add explanatory marks to the image. They do not produce measurements.
Arrow
Hold the left mouse button and drag from the tail of the arrow to the position it should point at, then release. Arrows are used to indicate a position of interest.
Text
Click the position on the image where the note belongs, type the text and confirm it; the text is added at that position.
Pencil
Hold the left mouse button and draw freehand on the image, then release. The pencil is suitable for tracing irregular outlines or for hand-drawn annotation.
Editing and managing marks
All measurements and labels (referred to below as marks) are stored on the image they belong to, and can be modified, copied or deleted at any time. In the drop-down menu of the "Measurement and mark" button, the tool entries are followed by three groups: copy and paste, duplicating to other images, and deletion.
Selecting and modifying
- Click the shape or the text of a mark to select it. A selected mark is highlighted and its control points appear.
- Drag a control point to change the size and shape of the mark; drag the body of the mark to move it as a whole.
- When nothing is selected, entries such as "Copy selected" and "Delete selected" are unavailable.
Copying and pasting
- Copy selected: copies the selected mark to the clipboard.
- Copy all in slice: copies every mark on the current image to the clipboard.
- Paste: pastes the marks from the clipboard onto the current image.
Duplicating to other images, windows or series
Rather than drawing the same mark on every image one by one, VolumeShop can duplicate marks for you:
- Duplicate selected / all in next slice, previous slice: copies the marks to the neighbouring slice.
- Duplicate selected / all in series: copies the marks to the other images of this series.
- Duplicate selected / all in window: copies the marks to the image at the same position in the series opened in another subwindow, which is convenient for comparing windows.
Deleting
- Delete selected: deletes the mark that is currently selected.
- Delete all in slice: deletes every mark on the current image.
- Delete all in series: deletes every mark on every image of this series.
A mark can also be deleted by right-clicking it and choosing the delete entry from the popup menu.
Mouse and keyboard reference
Browsing tab
The "Slide", "Adjust window", "Zoom" and "Pan" buttons on the toolbar choose the main operation. The icon of the selected button shows which mouse button performs it.
| Button | Left | Right | Middle | Wheel |
|---|---|---|---|---|
| Adjust window (default) | Adjust window | Zoom | Pan | Switch slice |
| Slide | Switch slice | Adjust window | Pan | Zoom about the pointer |
| Zoom | Zoom | Adjust window | Pan | Switch slice |
| Pan | Pan | Zoom | Adjust window | Switch slice |
Also:
| Action | Effect |
|---|---|
| Ctrl + left drag | Pan the image |
| Ctrl + wheel | Zoom about the pointer position |
| ↑ / ↓ arrow keys | Switch slice |
| Double-click a subwindow | Maximize / restore the subwindow |
Multiplanar reconstruction tab
As in the browsing tab, the "Slide", "Adjust window", "Zoom" and "Pan" buttons choose the main operation:
| Button | Left | Right | Middle | Wheel |
|---|---|---|---|---|
| Adjust window (default) | Adjust window | Zoom | Pan | Switch slice |
| Slide | Switch slice | Adjust window | Pan | Zoom about the pointer |
| Zoom | Zoom | Adjust window | Pan | Switch slice |
| Pan | Pan | Zoom | Adjust window | Switch slice |
In MIP / MinIP / AIP mode you can drag the boundary lines on either side of the slab to change the slab thickness.
3D tab
| Current tool | Left | Right | Middle | Wheel |
|---|---|---|---|---|
| 3D rotate (default) | 3D rotate | Adjust window | Pan | Zoom |
| Roll | Roll | Adjust window | Pan | Zoom |
| Pan | Pan | Adjust window | 3D rotate | Zoom |
| Zoom | Zoom | Adjust window | Pan | Roll |
| Adjust window | Adjust window | 3D rotate | Pan | Zoom |
Measurement and label
| Action | Effect |
|---|---|
| Left drag | Draw a two-point or multi-point shape (angle, cross length and Cobb angle are drawn in stages) |
| Left click repeatedly, then double-click | Draw an open path / closed path |
| Left button held down | Draw freehand with the pencil |
| Left click | Select a mark; with the text tool, add text at that position |
| Drag a control point | Change the shape and size of the selected mark |
| Right-click a mark | Open the popup menu for the mark (delete, and so on) |